
As I write I have just finished laying up the carbon cloth to make the first section of paddle… if you want a stress free life I wouldn’t recommend this project… I’m well aware as I work that mistakes/problems are going to be expensive in both time and money invested and it is proving to be a devil of a job to get the cloth to conform to the mould without a vacuum… I’m not keen to fork out a wedge for a vacuum pump but if what I have just done does not work out I may have to. Aside from that the twill cloth is very delicate to handle and of course it is a super messy business… Writing this up as I go means that I can’t hide any cock-ups either.. still, at least you could learn from my mistakes :-) I have been wondering why I couldn’t be happy with simply carving myself a traditional wooden paddle from some beautiful red cedar or something….
Anyway, I digress… at the end of part 1 I had a pair of nicely carved paddle sections. From that point then the procedure looked like this…
The blade halves were coated in epoxy and then, once cured, cut back with progressively finer grades of wet and dry paper.. from 240grit to 1200grit. I spent a lot of time over this as the effort invested now will be directly reflected in the quality of the finished paddle.. The epoxied blade sections were then glued to base-boards.. these were not epoxied until after the mounting as I could then carefully flow the epoxy coating right up to the junction between blade and baseboard to ensure there was no gap for the moulding gelcoat to seep underneath…
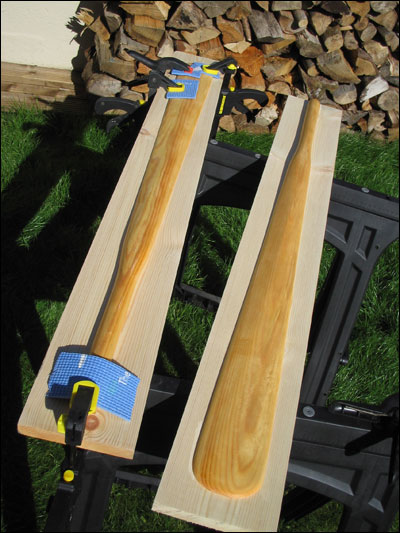
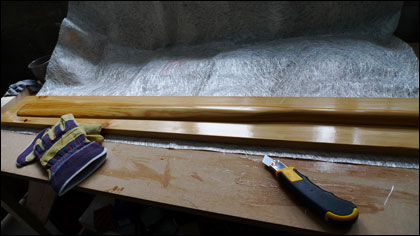
The epoxy coating on the base was then cut back but with less care as it’s not going to be represented in the final paddle. The whole lot was then given 5 coats of paste wax, allowing to dry between each coat, and polished between each coat. The plugs looked pretty nice after that :-)

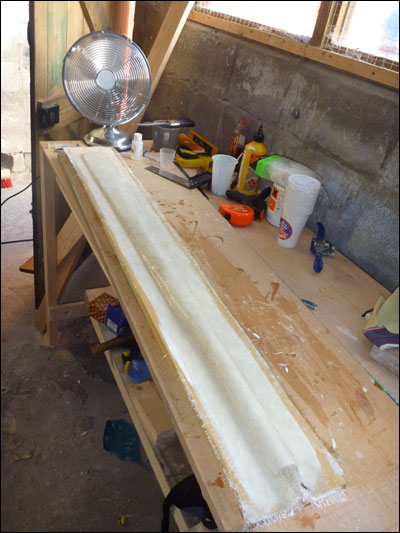
The moulds themselves are made relatively cheaply using polyester resin and chopped strand glass mat. After applying a layer of PVA mould release to the plugs a thick layer of gelcoat was applied, this forms the surface of the mould and also serves to form a fillet between the blade and the baseboard. Once set, but still ‘green’ to ensure a good bond 3 layers of chopped strand mat were applied. The first layer being a light-weight mat to better conform to the plug, the next two being a heavier weight cloth for stiffness.

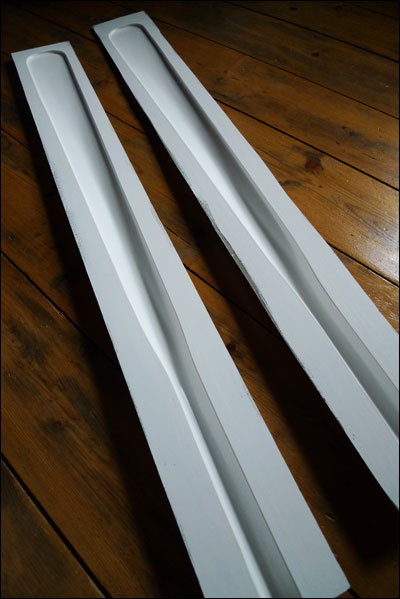
After allowing to cure for 24hrs or so fingers were crossed and the moulds popped off the plugs….
It seems to have taken forever to get this far… I am so hoping the next stage goes as well… stay tuned to find out :-)


Mike
I may have dreamed this but I think I have seen a hoover used as the pump. Would that do it – I use storage bags that are compressed this way and am amazed at the suck.
considered that and took advice from the experts, it doesn’t work apparently and i can understand why.. it takes along time under a high pressure for the air to get out of the laminate, you need a pump that can maintain a high vacuum over a long period, even a dyson does not have enough suck..