Ok, here it is.. finally got around to writing up last bit, sorry for the wait. I must also apologise for being something of a dummy and without thinking erasing the card that all the construction photos were on… so I only have a couple of pics plus the finished product. I’ll be making another incorporating lessons learned on this one however so I’ll take more pictures then… sorry :-(
To make each blade half then the moulds were prepared with a few coats of wax plus a coat of release agent. I used 4 layers of 200g/sqm twill cloth to make the laminate. The layers of cloth were wetted out using a plastic roller and layered together flat on the benchtop on a layer of taped down wax paper rather than laying each layer in the mould separately.. doing it this way ensures better wetting out and improved consolidation of the laminate as well as making the cloth easier to handle. Once wetted out the combined layers were peeled off the paper and laid in the moulds. I probably spent at least 10-15 minutes on each blade half coaxing the cloth into the contours of the mould and doing my best to ensure no trapped air bubbles. The wet laminate was then trimmed roughly with a pair of sharp scissors to around 5-10mm above the mould flange. After a couple of hours when the resin was ‘green’ – i.e going off but still pliable I trimmed the cloth flush with the mould flange using a sharp blade.. and then after a further 12hrs or so cure time the blade halves were popped out of the moulds with a sigh of relief :-)
I wanted to avoid external reinforcement of the seam between the blade halves so after sanding the joining faces flat on the benchtop I joined the matching pairs using a thick paste of epoxy and microfibres.. the idea being that, in theory, the excess paste squeezes out of the joint and forms an interior fillet on the joint. So far so good, whether or not it proves durable enough in practice remains to be seen… made a nice tidy, practically invisible joint though :-)
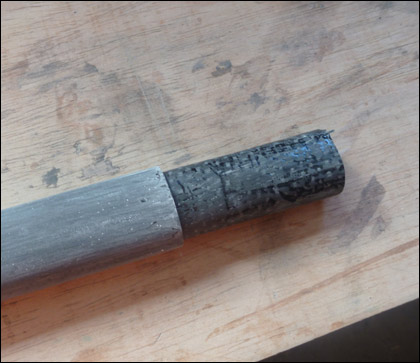
To join the completed paddle halves I carved a rigid foam ‘spigot’ (an offcut of that foil-covered foam insulation board) about 1.5mm smaller in cross-section all-round than the internal cross section of the loom (shaft). That was wrapped in 4 layers of wetted out unidirectional carbon tape with the fibres running longitudinally. The whole thing was then wrapped tightly in polythene and gaffer tape to add some compression while the epoxy cured. Luckily I have a picture of the spigot on another camera… voila!
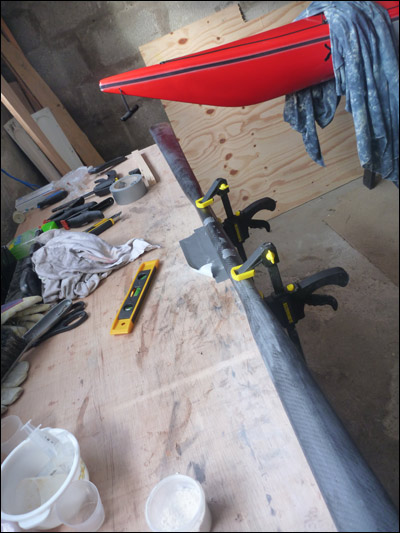
The paddle halves were glued together on the spigot using more of that epoxy/microfibre paste and the whole clamped down to cure.. making sure of course all was aligned properly. Once cured I also wrapped a layer of cloth around the outside of the joint extending about 2″ each side of the join.
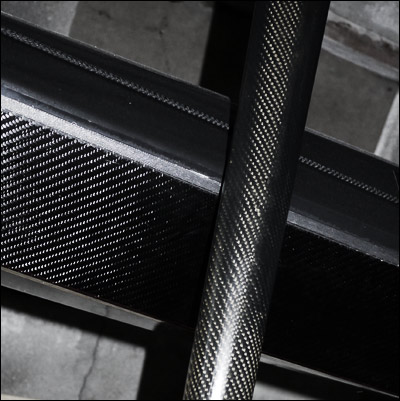
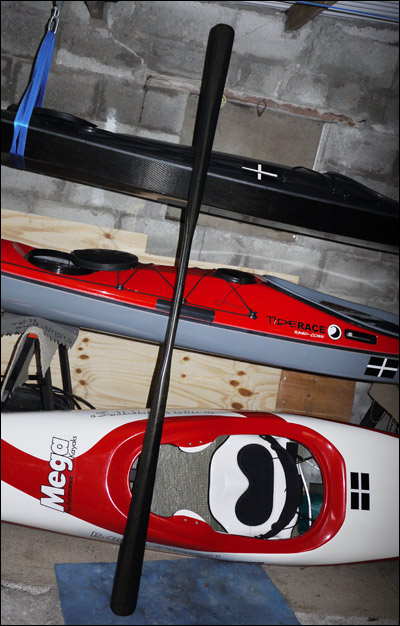
After final rubbing down the whole lot was given 4 coats of polyurethane lacquer .. semigloss as I find it hides the scuffs and scrapes of everyday use better.. The finished paddle looks pretty nice and in use has a very pleasing degree of flex. It weighs about 650grams, a bit more than half that of a similarly dimensioned wooden paddle.
So.. in summary, I’m pretty happy with the finished product. It is a prototype however and is not flawless. I learned loads along the way so the next paddle will of course be perfect.. and it will be vacuum bagged rather than laid up by hand ;-) Purely in terms of the material cost and time expended it probably is not a particularly worthwhile project.. but in terms of the satisfaction of making something cool, the lessons learned and the pleasure of paddling with something pretty unique.. very much worth it, and at last I have a paddle that properly matches my Greenland boat :-)
(For reference parts 1 and 2 of this project are here & here respectively)