
When it comes to equipment, whether biking, hiking, or paddling, I’m something of a fiddler and a fettler.. and modifier (and maker, I suppose – to the extent that it’s stuff that doesn’t require an extensive and fully-equipped workshop). Aside from the satisfaction to be found in fettling or modifying gear to suit one’s needs perfectly, being inclined to modify, make, and re-purpose stuff is also a terrific money-saver; more important than ever perhaps given the current state of things.
I tend not to think twice about what I’m doing, and often, given the simplicity of whatever it is, it never occurs to me that other folk might also be interested in, and take inspiration from, what I’ve been up to until I’m given a prod – in whatever form that might take. Recently a chap emailed me about the bag setup on my bike from a picture all the way back in 2015, I subsequently sent him details and a stack of photos of that setup and the evolution that had taken place since then.. as such it eventually occurred to my apparently sludge-like consciousness that others might it find it handy too.. especially given that it’s really cheap and quick to do, and doesn’t require any tools beyond a vice/vise and drill with a bit tough enough to go through stainless steel… It’s also been a while since I bothered posting anything of this sort of flavour (i.e. potentially useful… ) – not since the Big Fat Dummy mudguards project I think, so here it is.
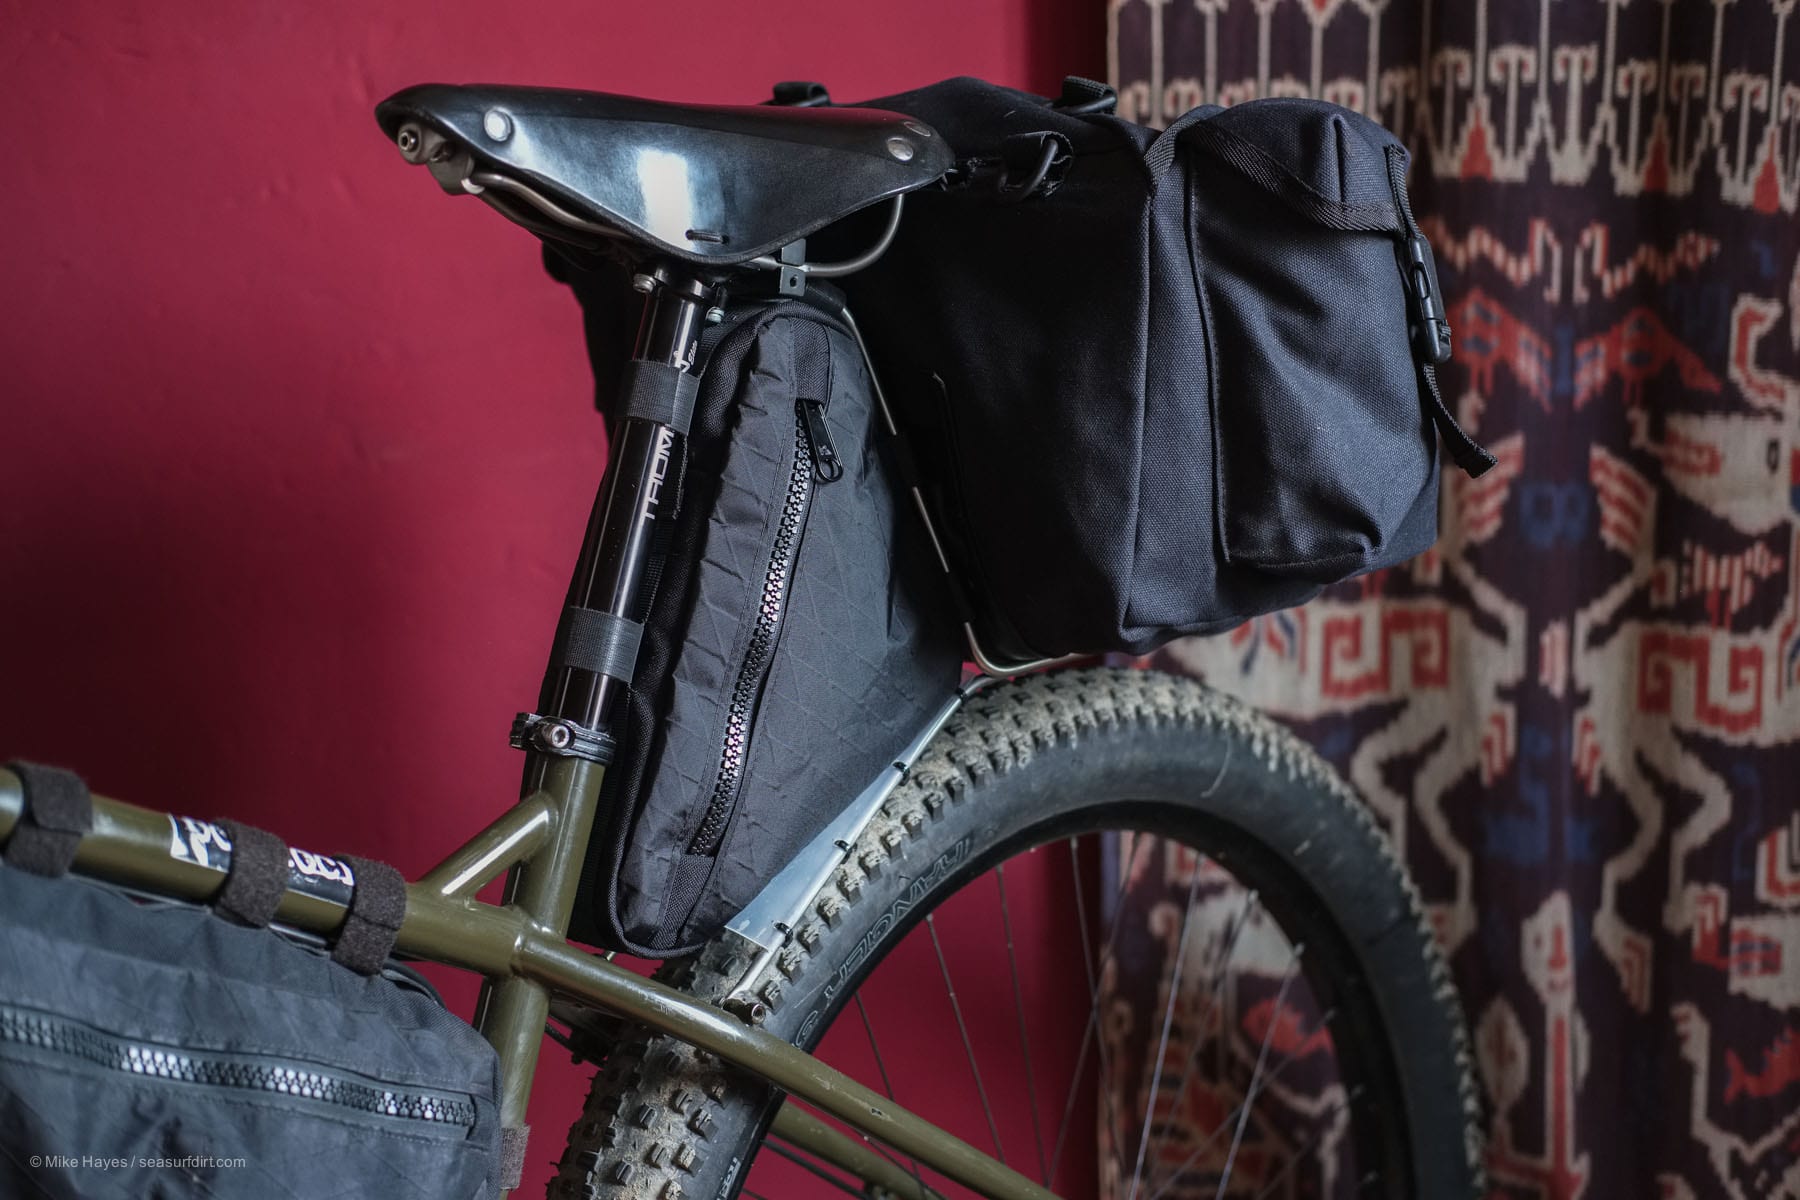
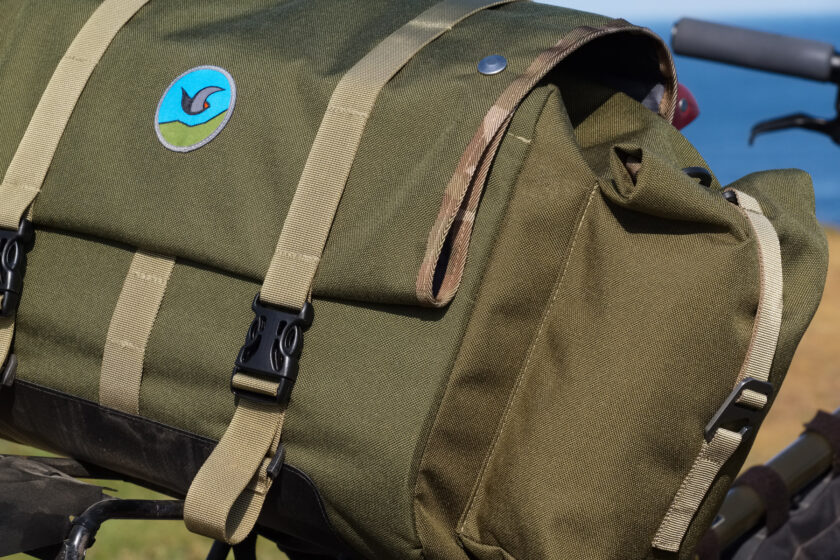
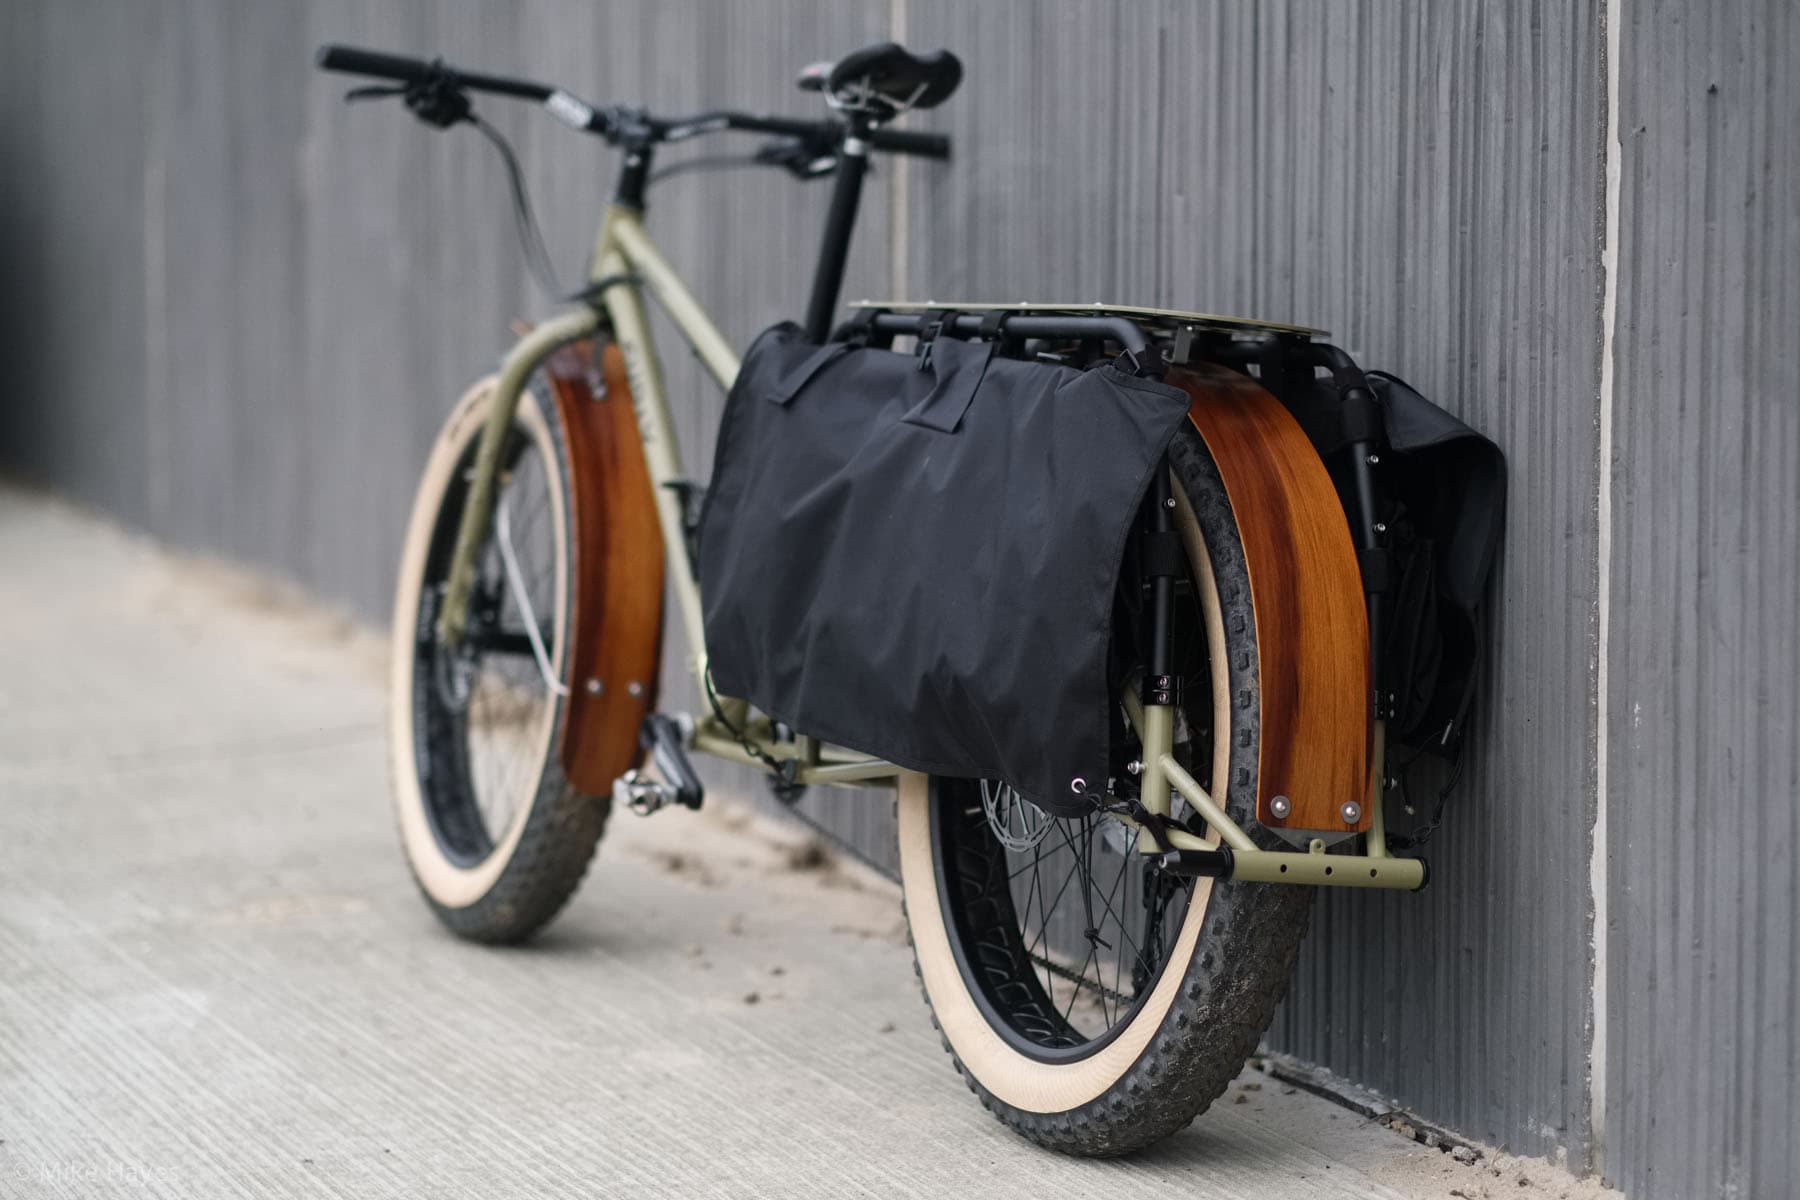
The enquiry concerned the rear bag setup – it comprises a Carradice Camper Longflap bag on a modified Bagman Expedition support, with a dry bag inserted into the space aft of the seatpost. Nothing particularly remarkable but I wanted to share the Bagman modifications and how that setup looks 7 years later.
As a stock item the Bagman supports don’t have any additional struts descending to the seatstays, relying solely on the clamp to the saddle rails to carry the load; fine for road use where it’s not subjected to frequent shock loading and persistently high levels of shaking/vibration but inadequate for sustained dirt touring/bikepacking.
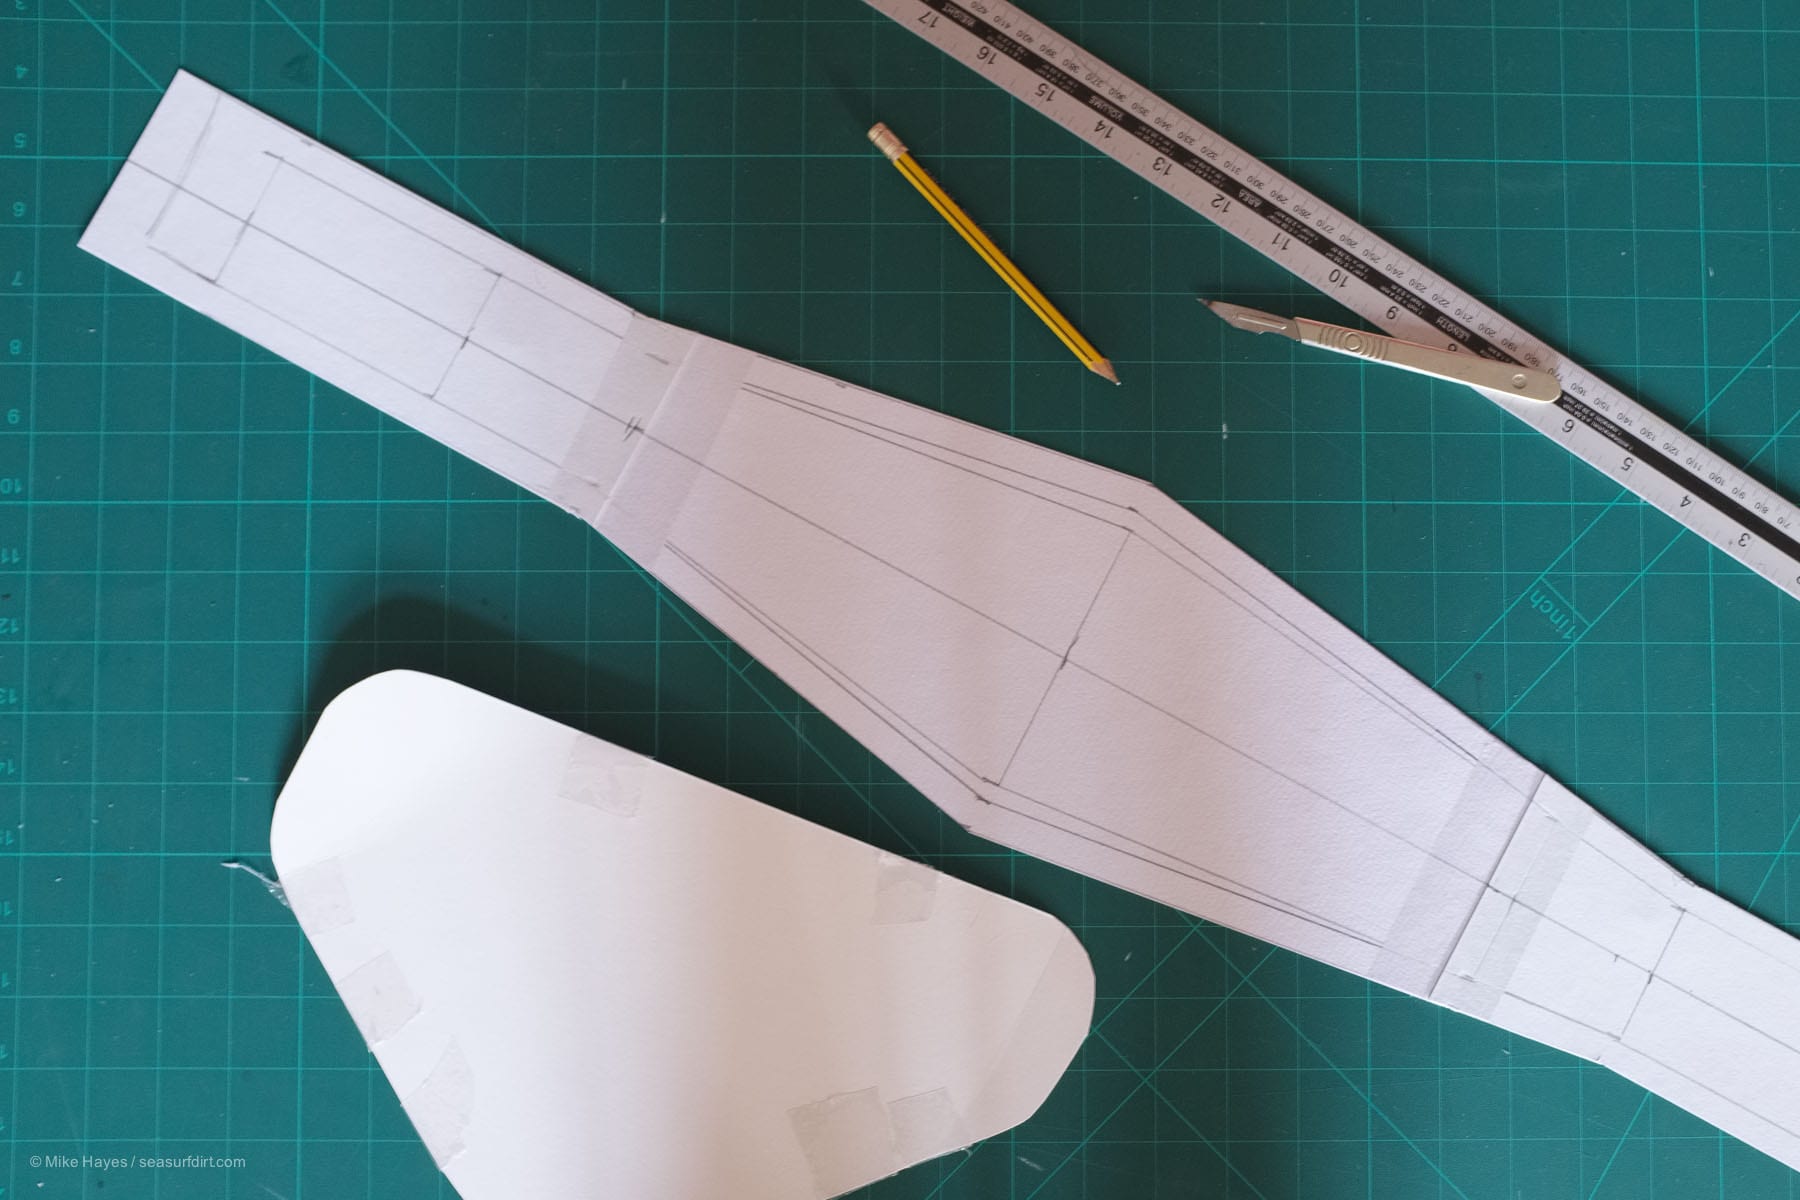
In the initial picture above I’d fashioned a pair of additional struts from 6mm dia / imm wall-thickness stainless steel tubing with the ends flattened. One end was bolted to the seatstay ‘barnacles’, the other clamped to the Bagman at the ‘elbow’ with a couple of stainless automotive tubing clamps, the idea being to resist the torque that the weight of the bag, being offset, applies to the single-bolt saddle-rail clamp. It worked a treat but did suffer from ‘clamp creep’ – persistent vibration under load would cause the clamp at the elbow to migrate slowly along the Bagman tubes, slowly increasing the stress on the saddle rail clamp. Interestingly in the last year or so Carradice have been offering additional struts that do exactly the same job in the same way; I do not know if they suffer from the same slipping that mine did under heavy ‘abuse’.
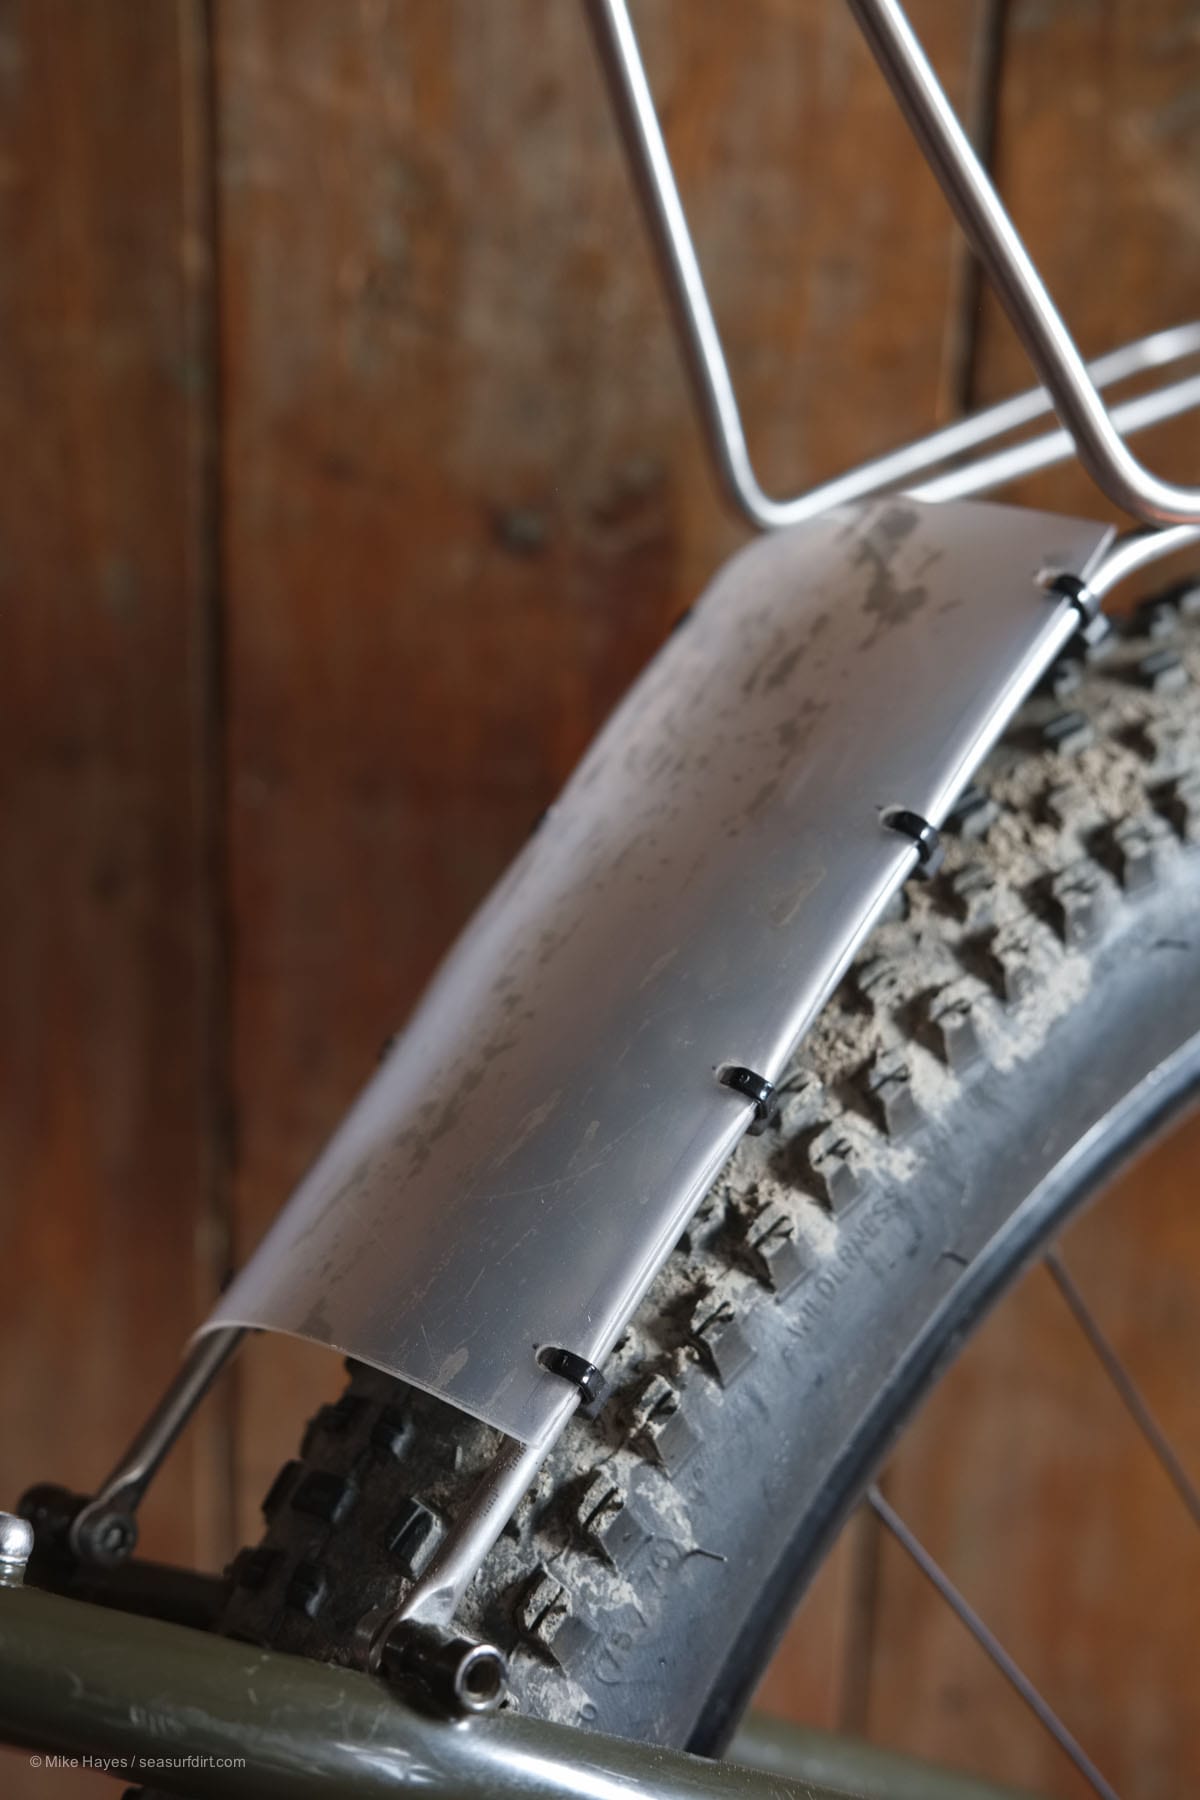
Following that experience I remade it by creating the additional struts as a one-piece item, in the same 6mm tube, that resisted the torque loading by ‘pushing’ back against the rear rail of the Bagman, making something of a cantilever arrangement suppose.. this way there’s no possible slippage of any clamps, and it’s still rock-solid despite not having been particularly gentle with it under load. It’s also still a cheap modification – you can grab a meter of 6mm stainless tube off eBay for less than £15, and if you don’t have a suitable pipe bender you can get one of those for about a tenner too – ones sold for bending automative brake pipes are perfect for this gauge of tubing.
I’ll describe the setup in photos… it’s just easier.
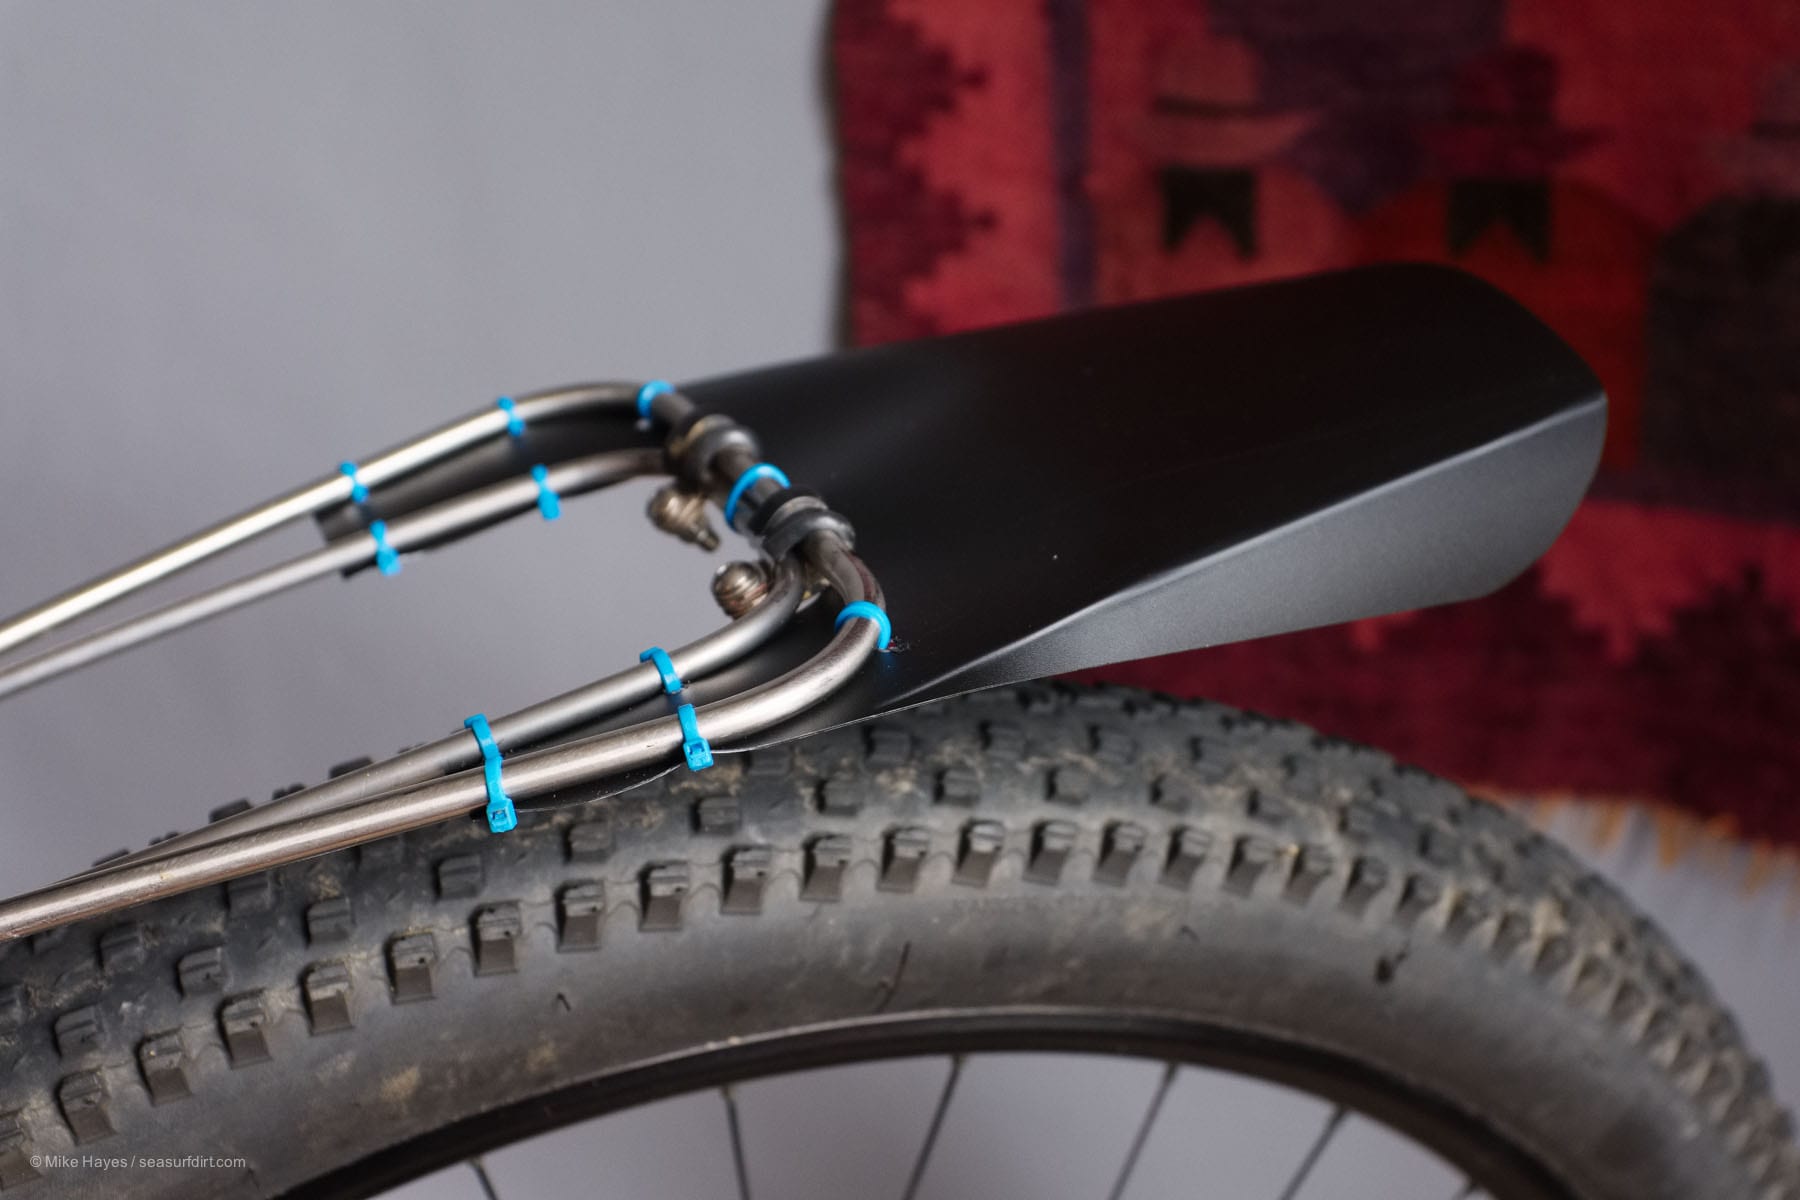
I’ve been meaning to get a mate to run a weld along the rear so I can ditch the clamps… the clamps have worked fine, they’re just not exactly elegant… In the spirit of not spending any ££ and just using whatever I could dig out of the parts box they’re just cheap stainless steel p-clips forced out of shape.
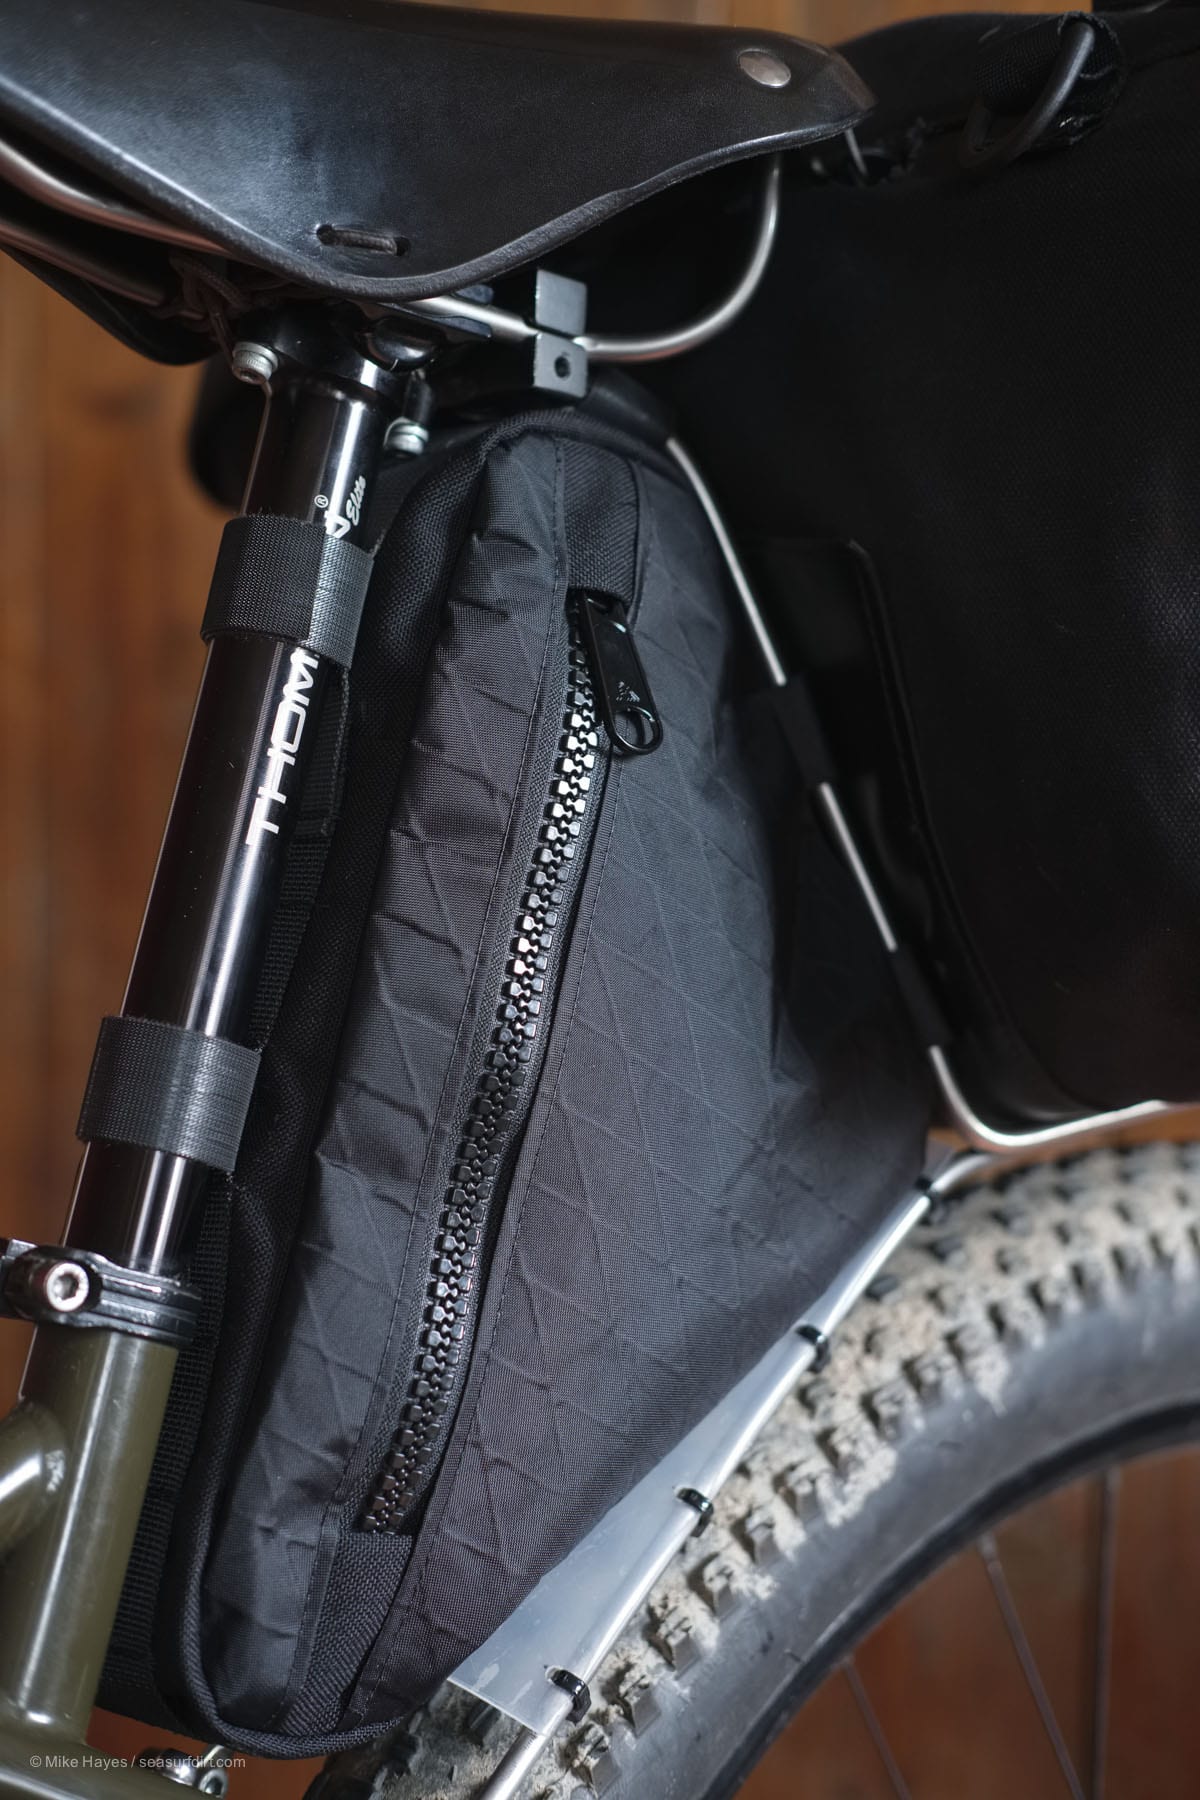
Being small I was able to make the bag entirely from leftovers/scraps with the exception of the zipper slider, which cost the princely sum of £1.
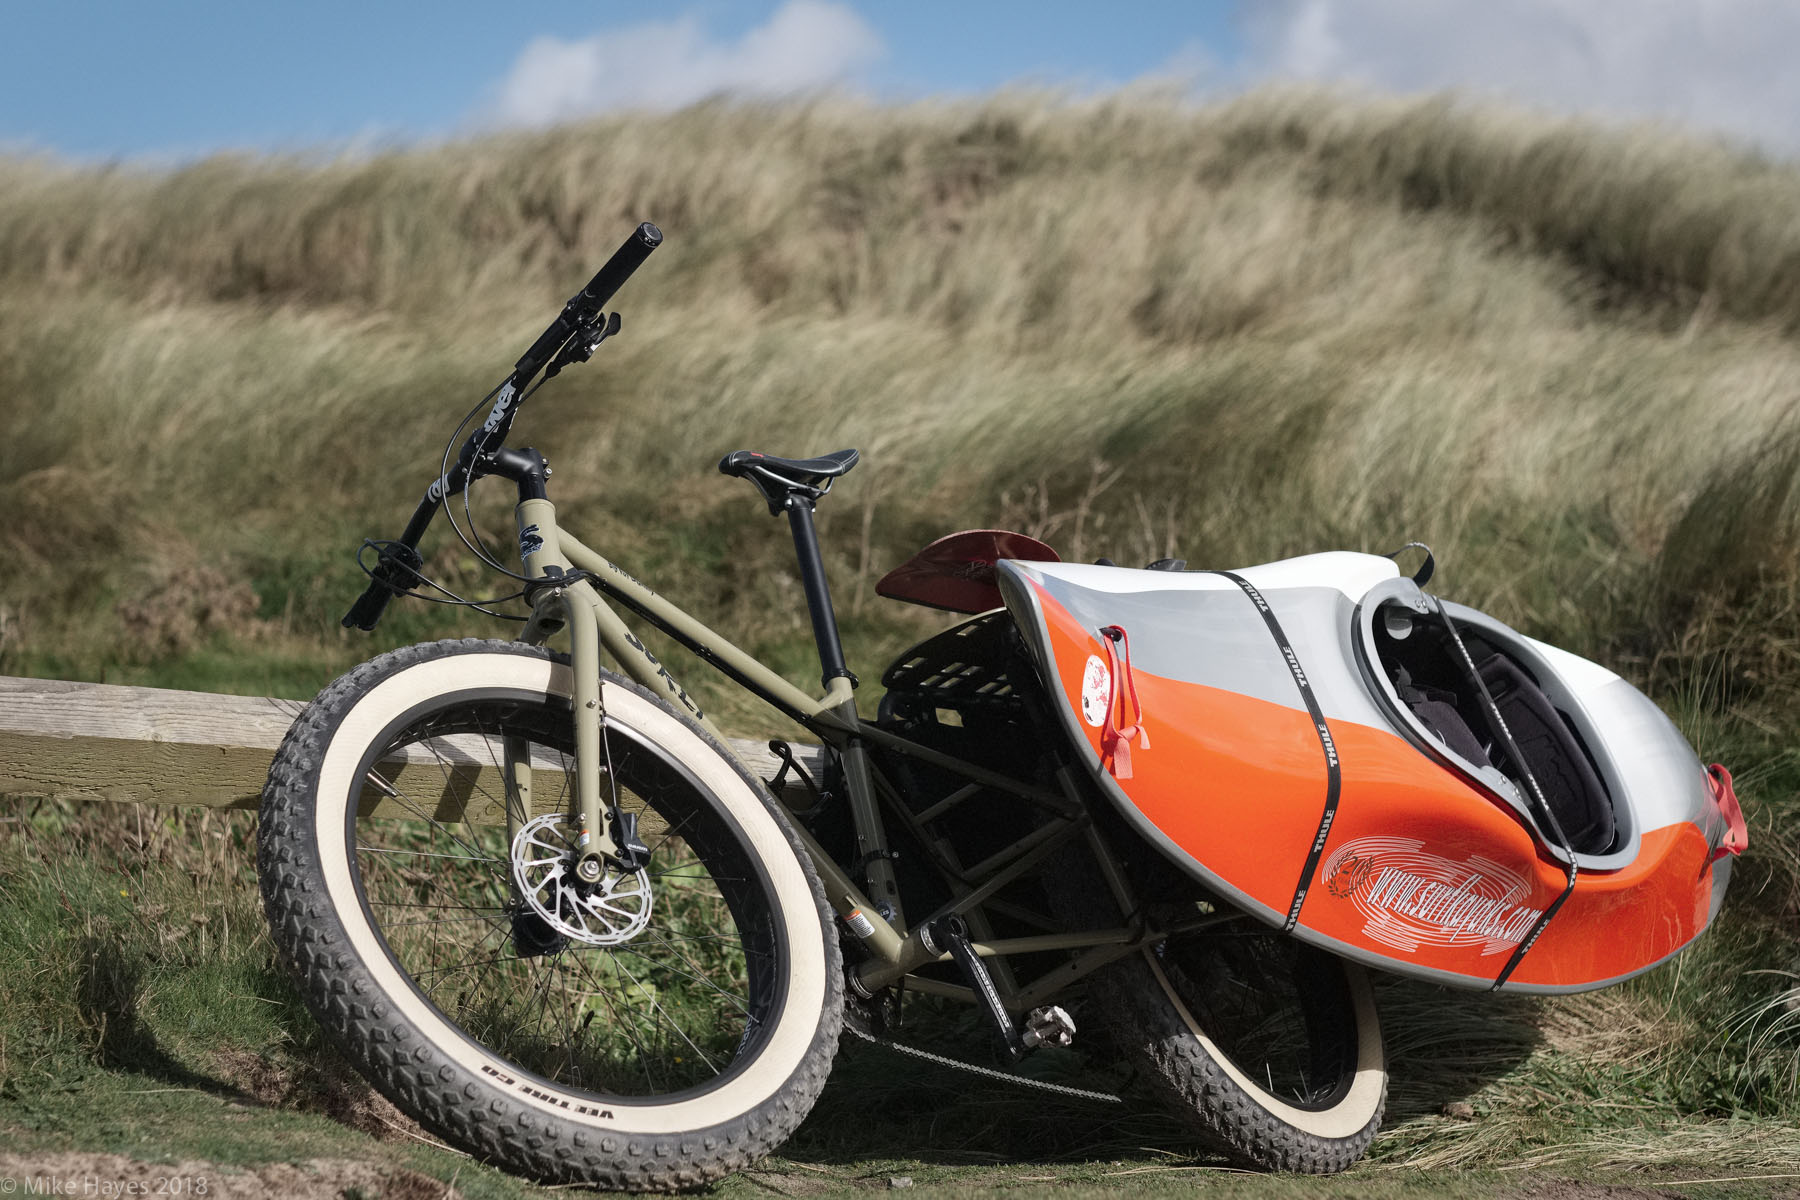
I do still worry about the single clamp at the saddle rails so while this arrangement adds significant robustness I’ve been inclined to not use it for a months long expedition, but for shorter trips, when not overloaded it’s been absolutely fine and a huge improvement over the stock Bagman. For heavy loads over many months I would very much like a Tumbleweed T-Rack but it’s hard to get hold of in the UK, and the cost of getting one across from the US is somewhat prohibitive once shipping and taxes/duty are taken into account.. so come August I suspect my trusty old Tubus Vega will be back in service. I do quite fancy sorting myself with some brazing kit so I could make my own at some point…
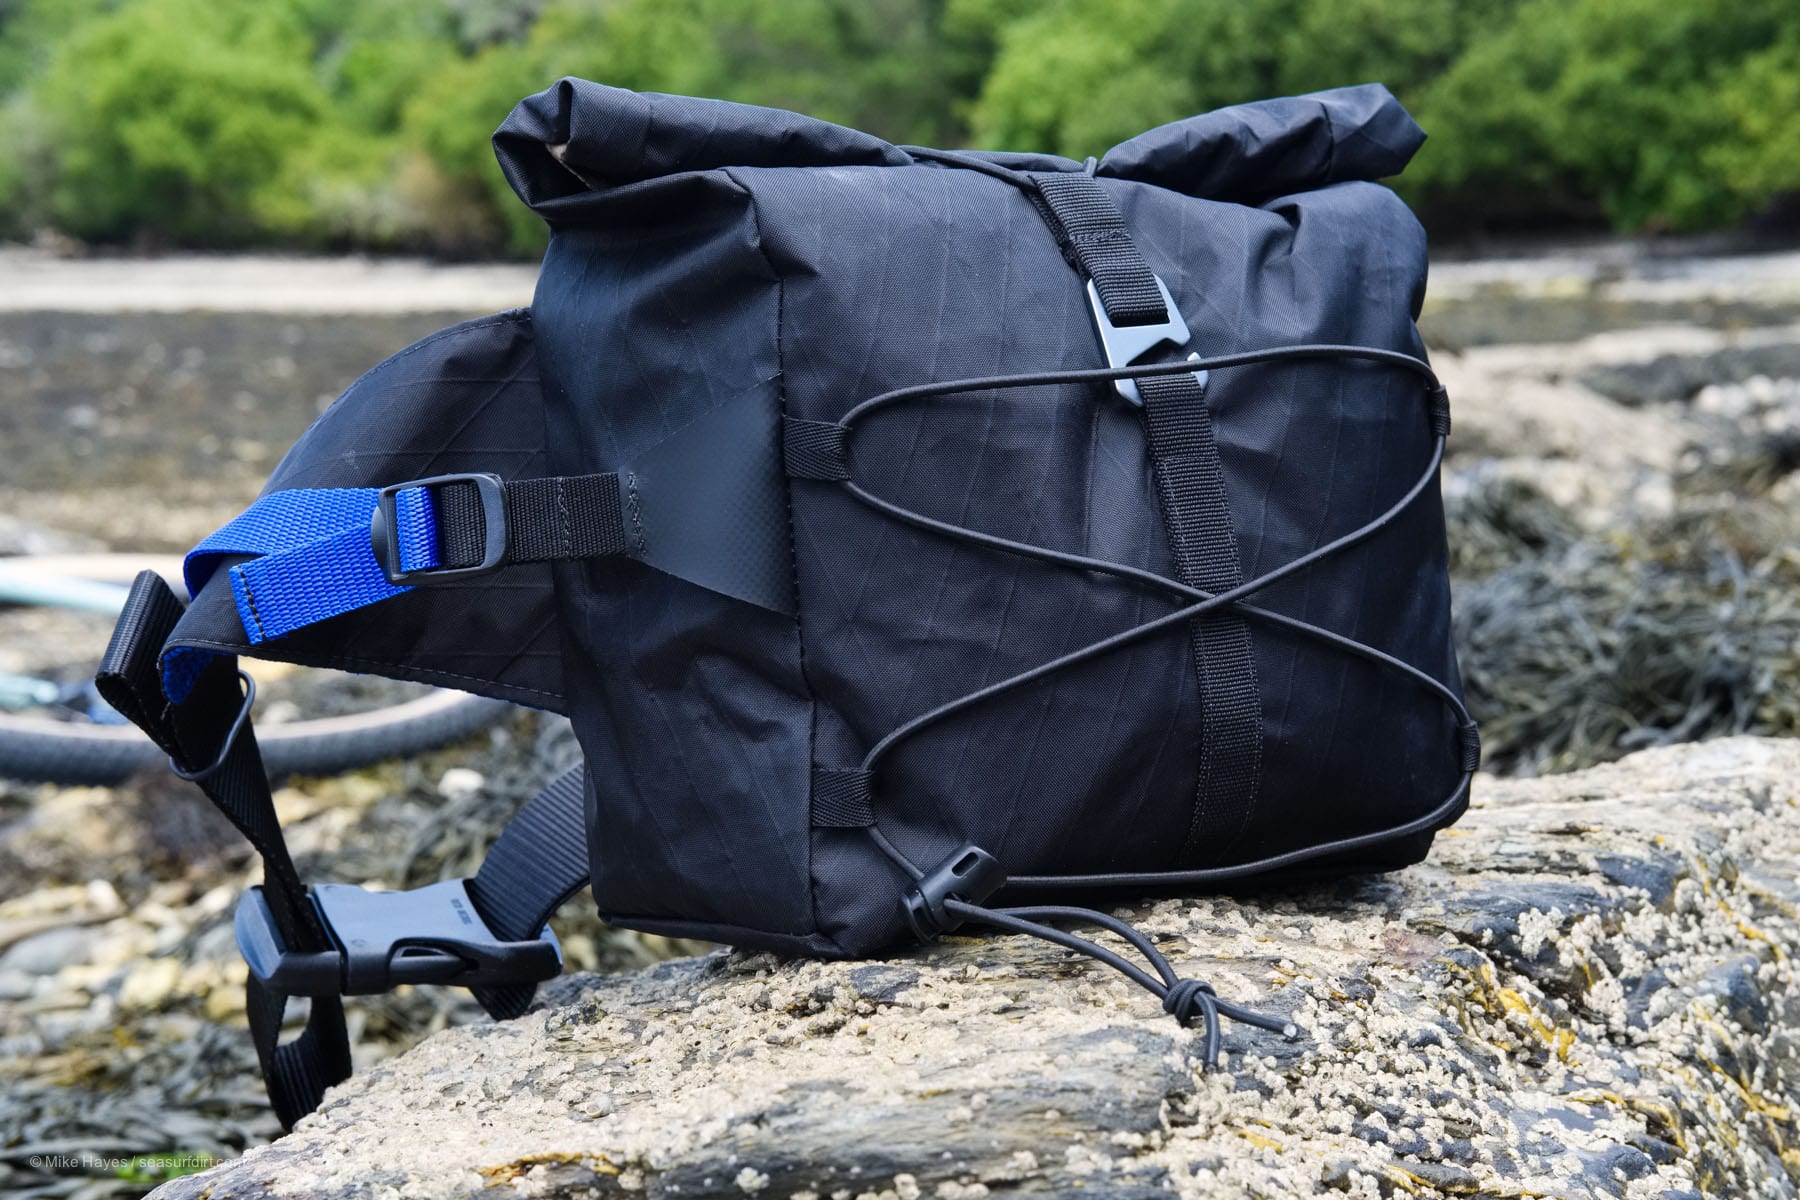
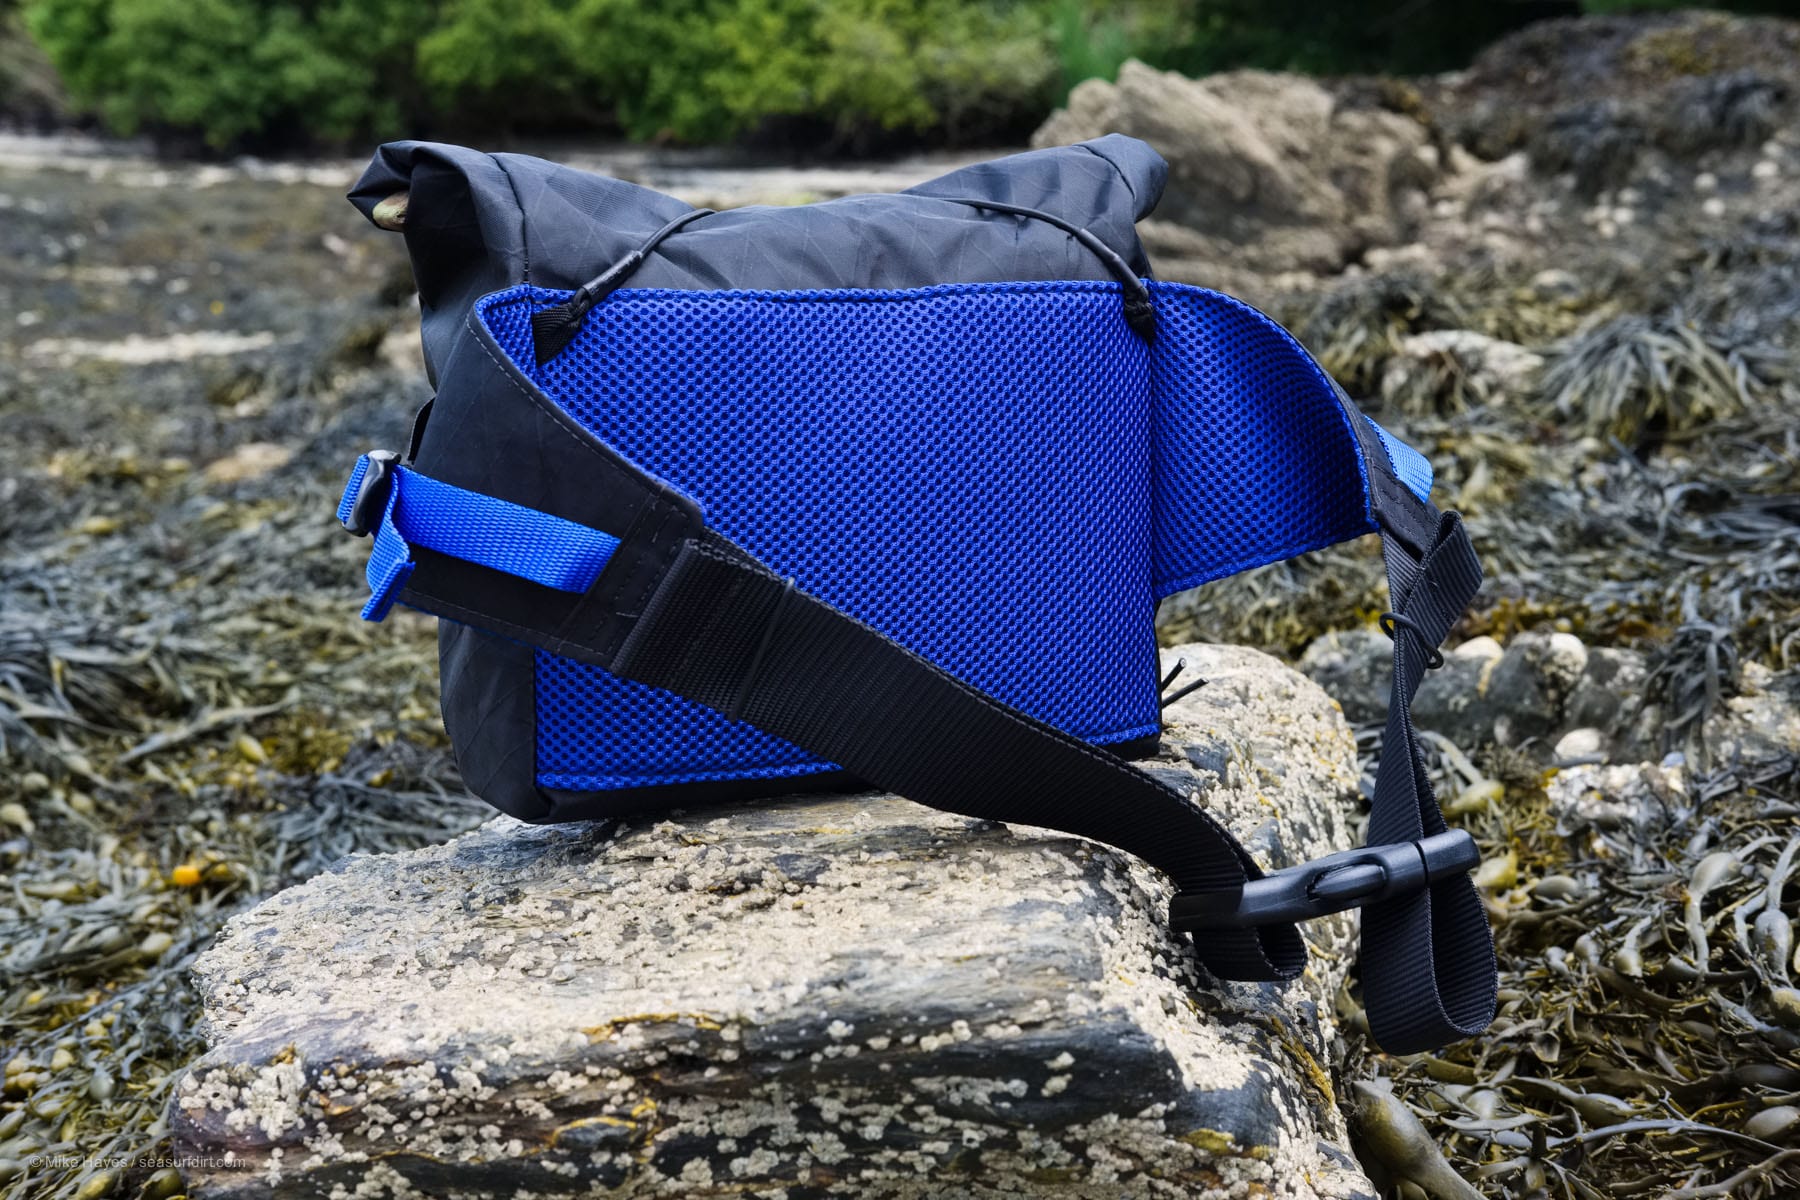
While I’m on, something else I’ve been fiddling with in the form of a roll-entry waist pack dedicated to carrying my X-Pro 2 and extra lens, in a padded liner, for when I don’t want a camera bag on my bars. This is a first prototype I put together last weekend so testing to date has been limited to a single 8hr ride, however it worked exceptionally well – well balanced and comfortable, and not sweaty, so it definitely has promise. I’m inclined to develop it such that body of the bag is detachable from the padded waist-belt to reveal points for a handlebar mounting, and also attachments for a shoulder strap for my about-town street photography forays… it could well become a new ChoughStuff offering.


Nice work Mike and thanks for keeping me/us posted. This would be excellent for my XE3 and two lens setup and definitely my X100S shortly to become an X100F or V even. Back to Aus for me on Wednesday.
Cheers – Dave
I’ll keep you posted, in meantime – safe flight!
This looks amazing. Is flattening the steel rod difficult to do ‘at home’?
hey, cheers, it’s a bit Heath Robinson but works… :-). re flattening the steel, best if you have access to an engineering vise.. if you don’t perhaps a mate does, otherwise a few wacks with a heavy hammer with a piece of steel or something behind out to do the job.