It’s not for everyone, but personally I find that making my own gear, whether for bike or kayak, is a deeply satisfying way of extending my enjoyment of those activities, as well as fulfilling a need I seem to have to be engaged in something creative from time to time. It’s also a great way to modify, repurpose, and recycle old gear, and of course, save money.
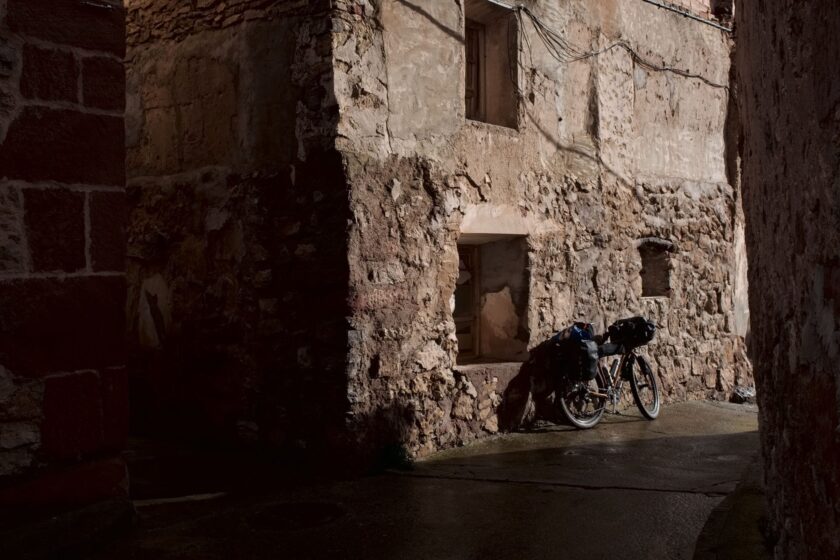
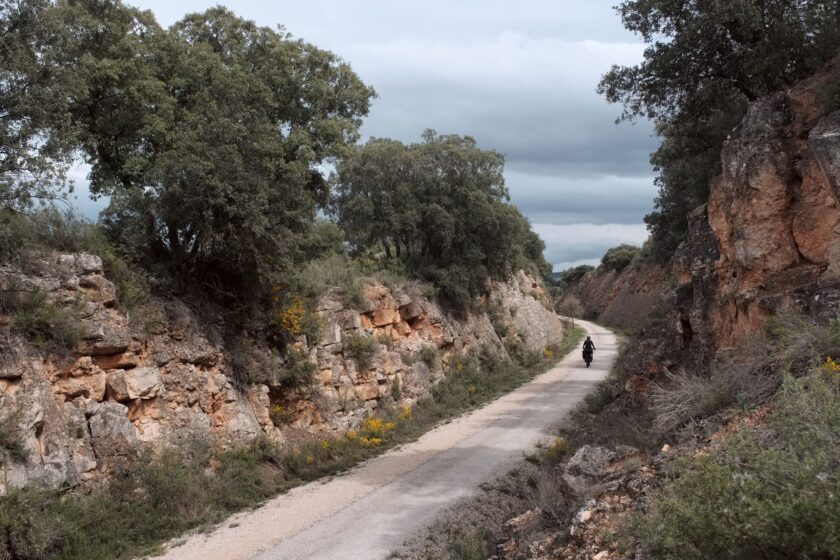
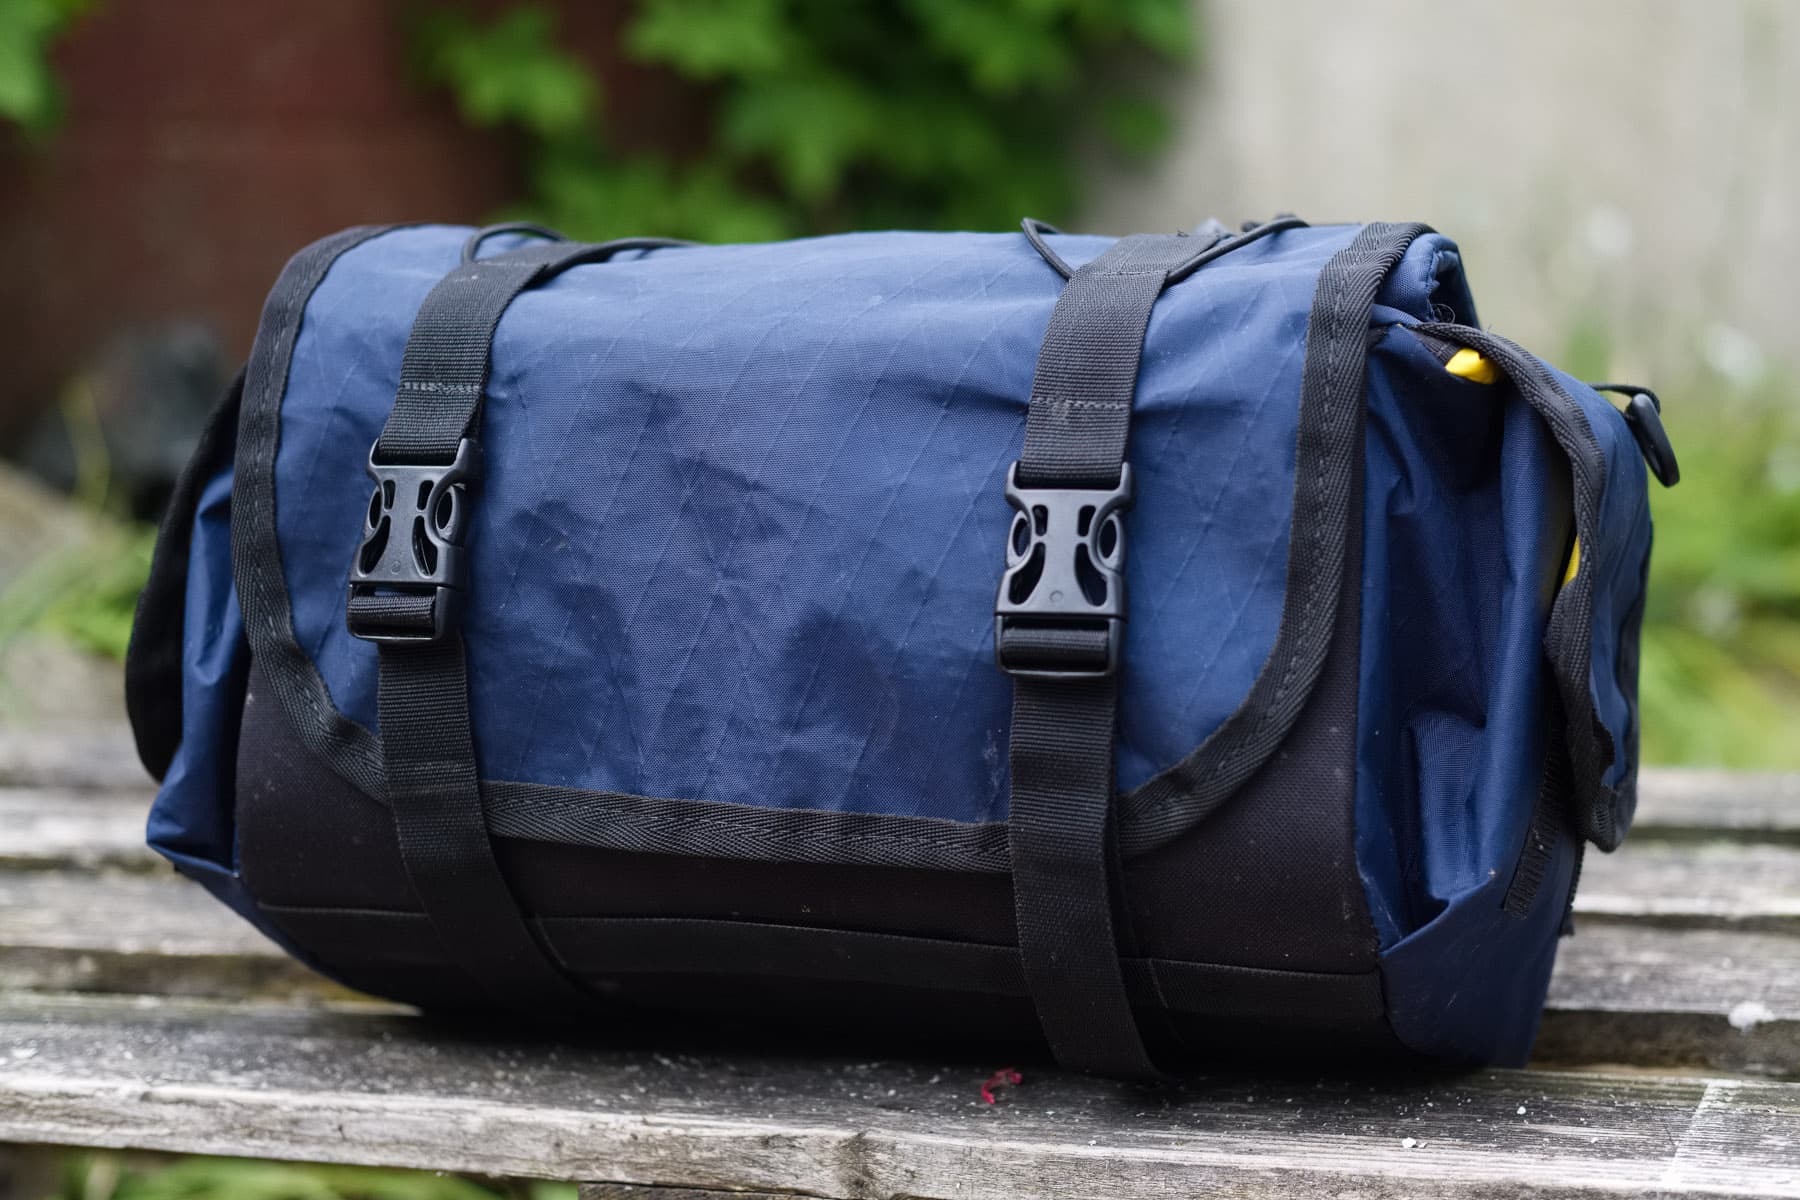
Up until now everything I’ve made has been somewhat “free form” in terms of design.. making it up as I go, or a process of turning an idea into reality through a number of iterations and improvements, with some help along the learning curve, that started back 2018, from YouTube and few “how-to” articles on the web. It can be time consuming making a new bag when it’s the first of its kind, never a problem during the dark winter months, but back in March however I needed a bag quickly for the Faran and its impending shake-down tour through Spain. I’d decided that my usual front end setup of a dry bag and harness wasn’t going to work so well for me, with the drop bars, as it does on bikes like my ECR. Rather than faff about with designing a small version of the larger roll-entry bag I made for the ECR a couple of years ago I turned to The Functional Sewing Project and downloaded, for US$20, the pattern for the “Junk Trunk“, which in their words is “a large Carradice style handlebar or saddle bag, well suited for big bikepacking adventures, or everyday riding”.
As a resource, The Functional Sewing Project is a terrific idea and came about out of the closure of Colorado-based bag maker Rocky Mountain Toast. Rather than simply disappear, the decision was made to make the patterns for a few of their designs available for others to download and use, in return for a relatively nominal fee. While the bag here is perhaps a more “advanced”project and does require access to a heavy duty or industrial type sewing machine, there are some simpler projects that should be possible with a domestic machine. Don’t forget also the excellent archive of “Make Year Own Gear” articles over on bikepacking.com. If you do have access to a machine that is up to the task however, and in the market for a bag of this kind, then the materials costs here in the UK I think came to about £35 – a huge saving over a retail example, and you have the possibility to save further by making use of recycled fabrics and parts. I’ll describe the bag below with some photos and a few comments that may be helpful, and include some links to where I sourced the materials needed. The pattern and step-by-step guide were excellent – I’d highly recommend it, albeit not as a first sewing project.
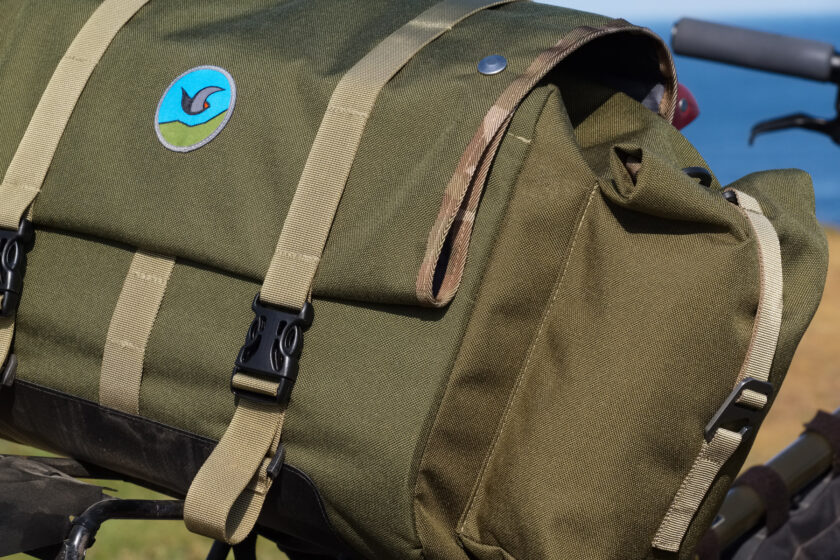
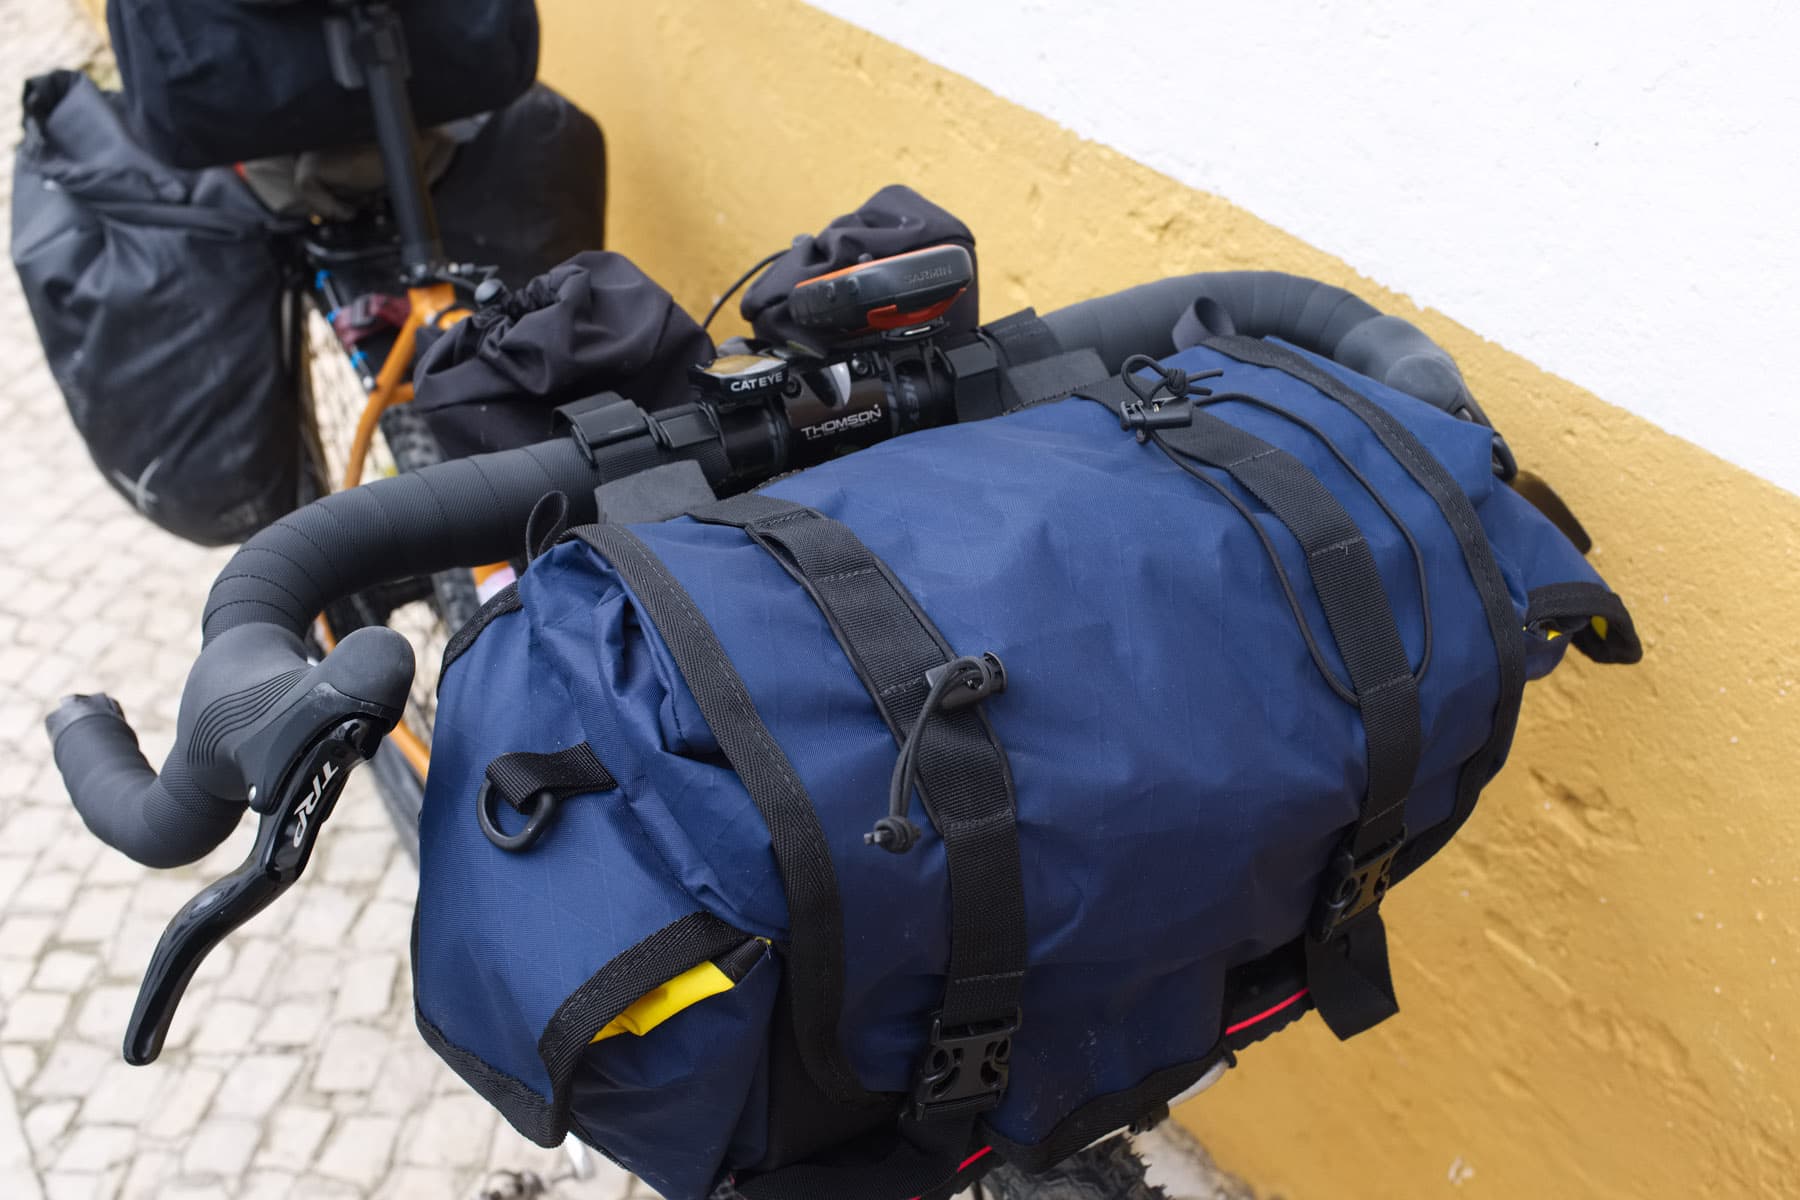
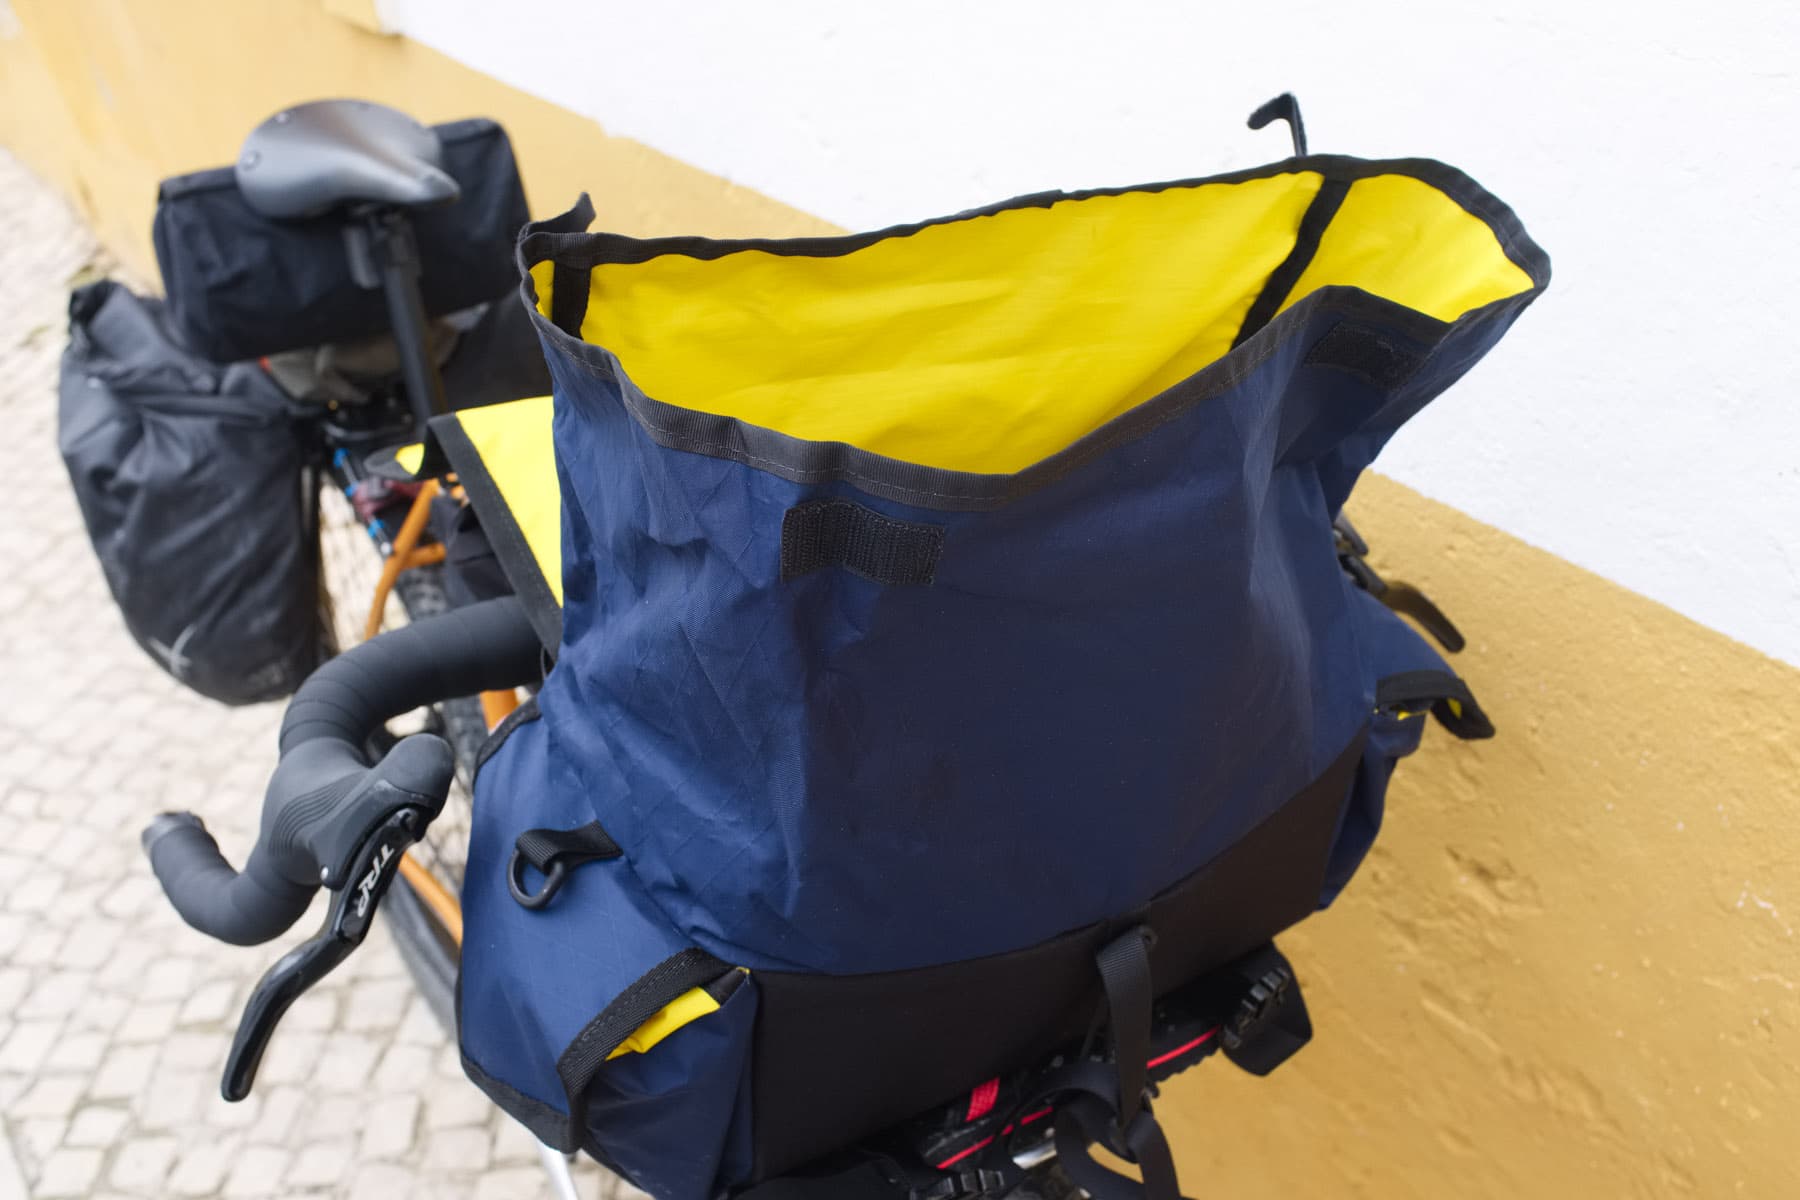
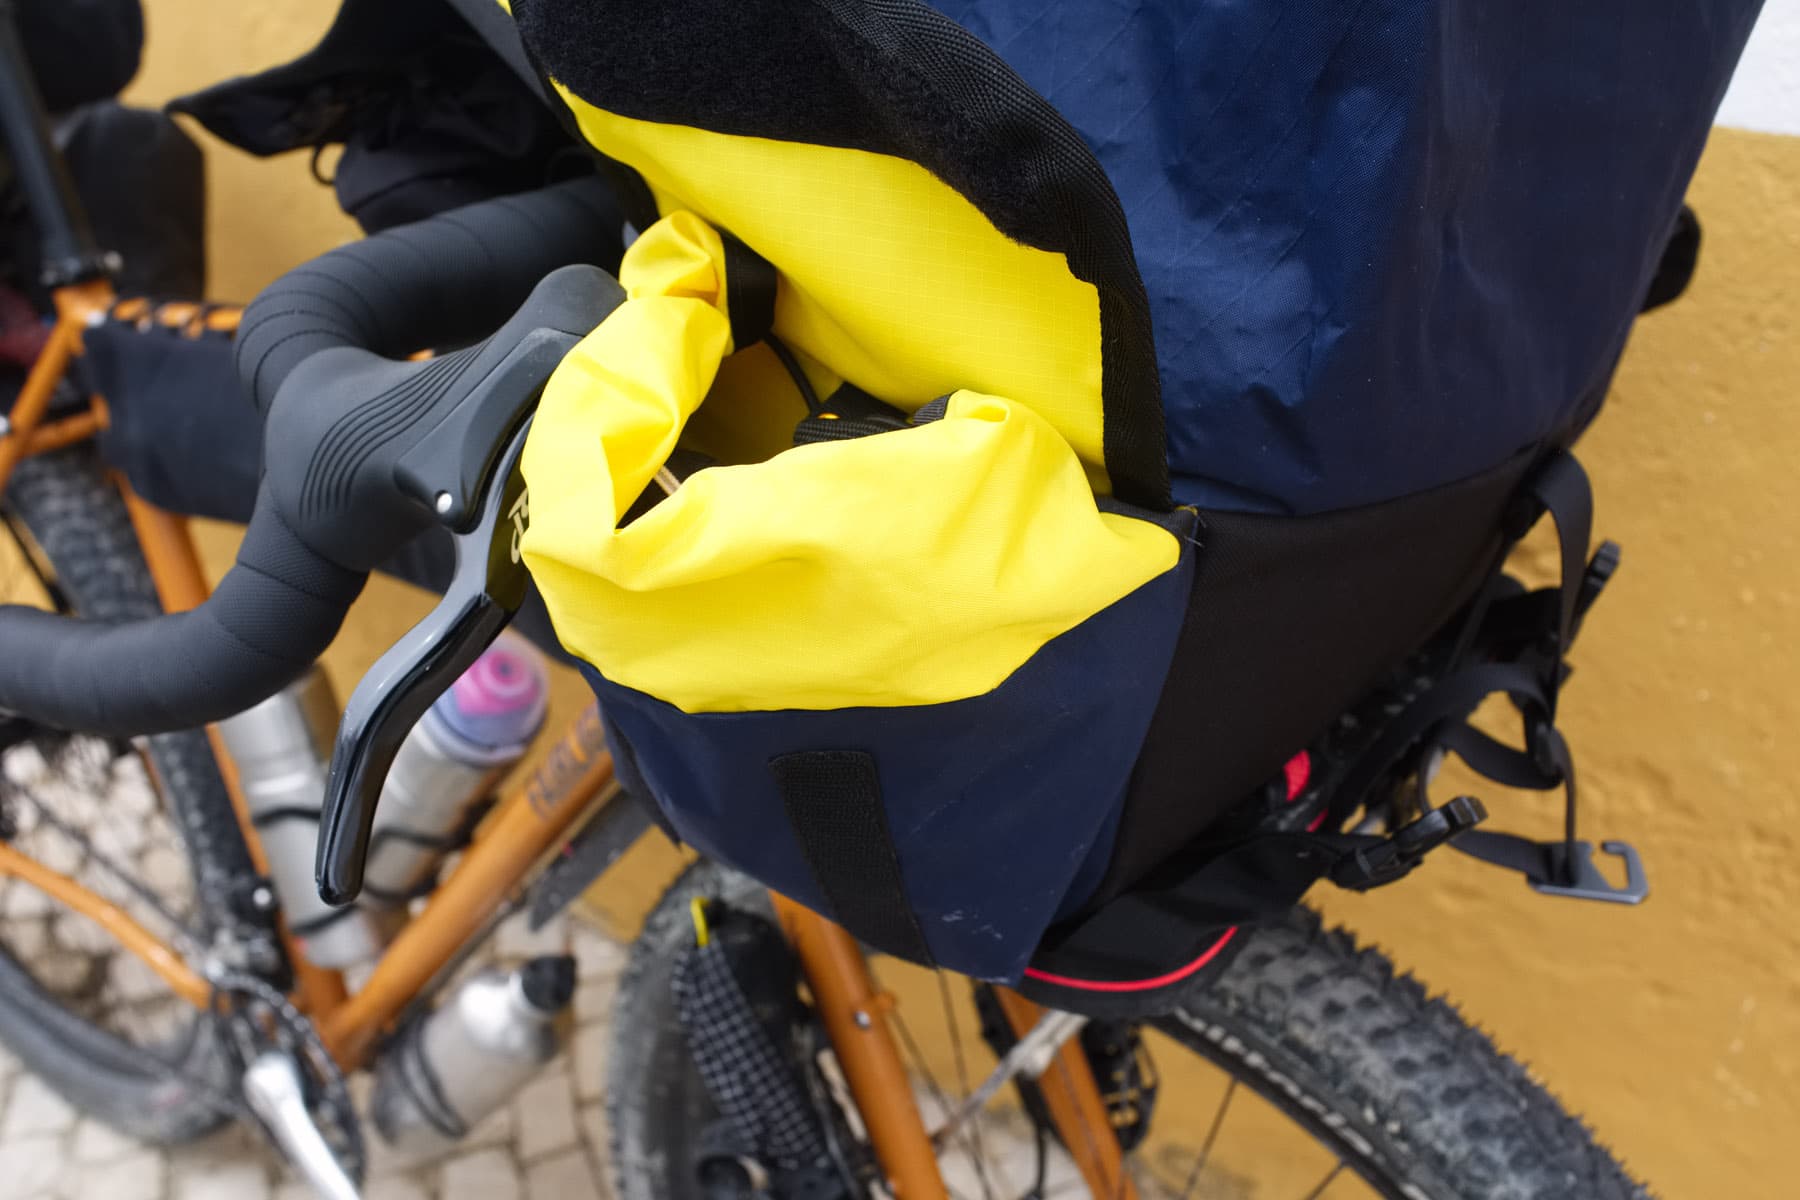
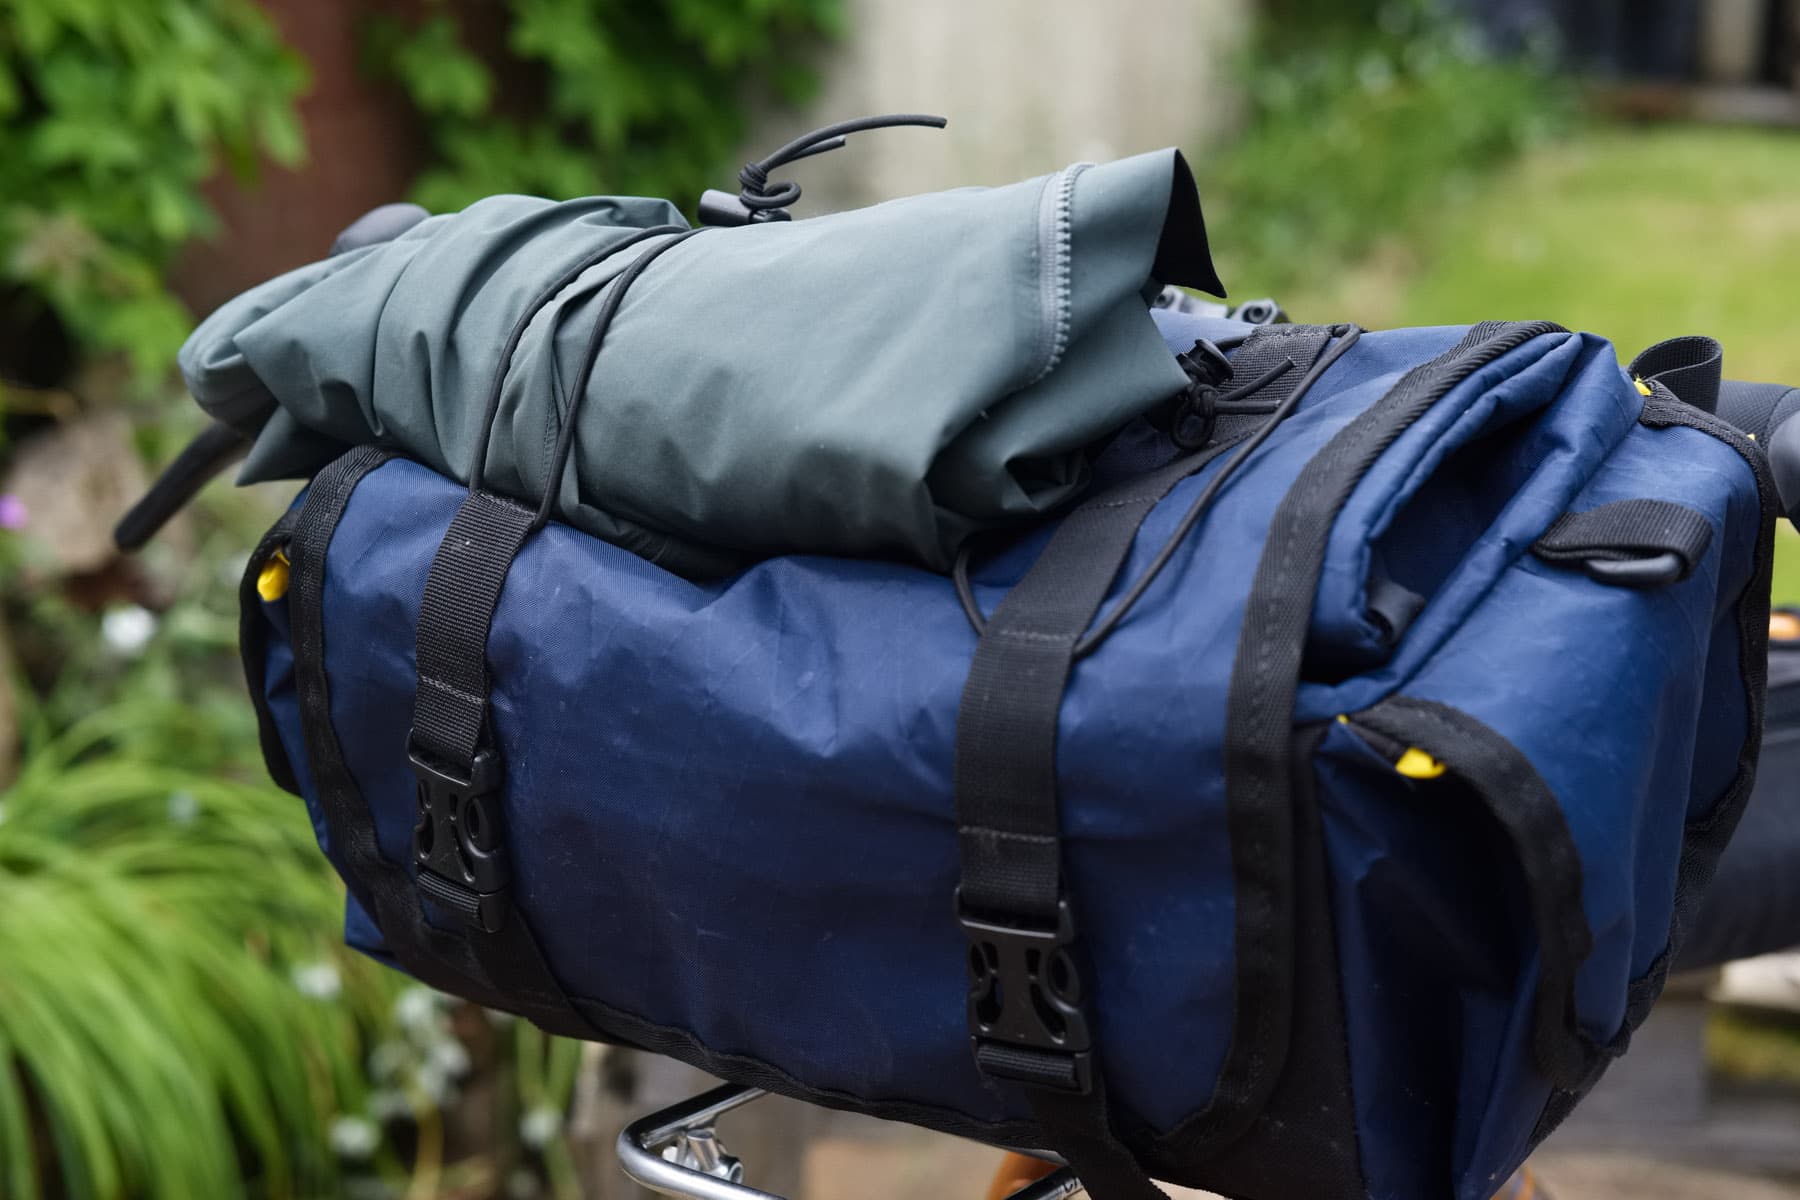
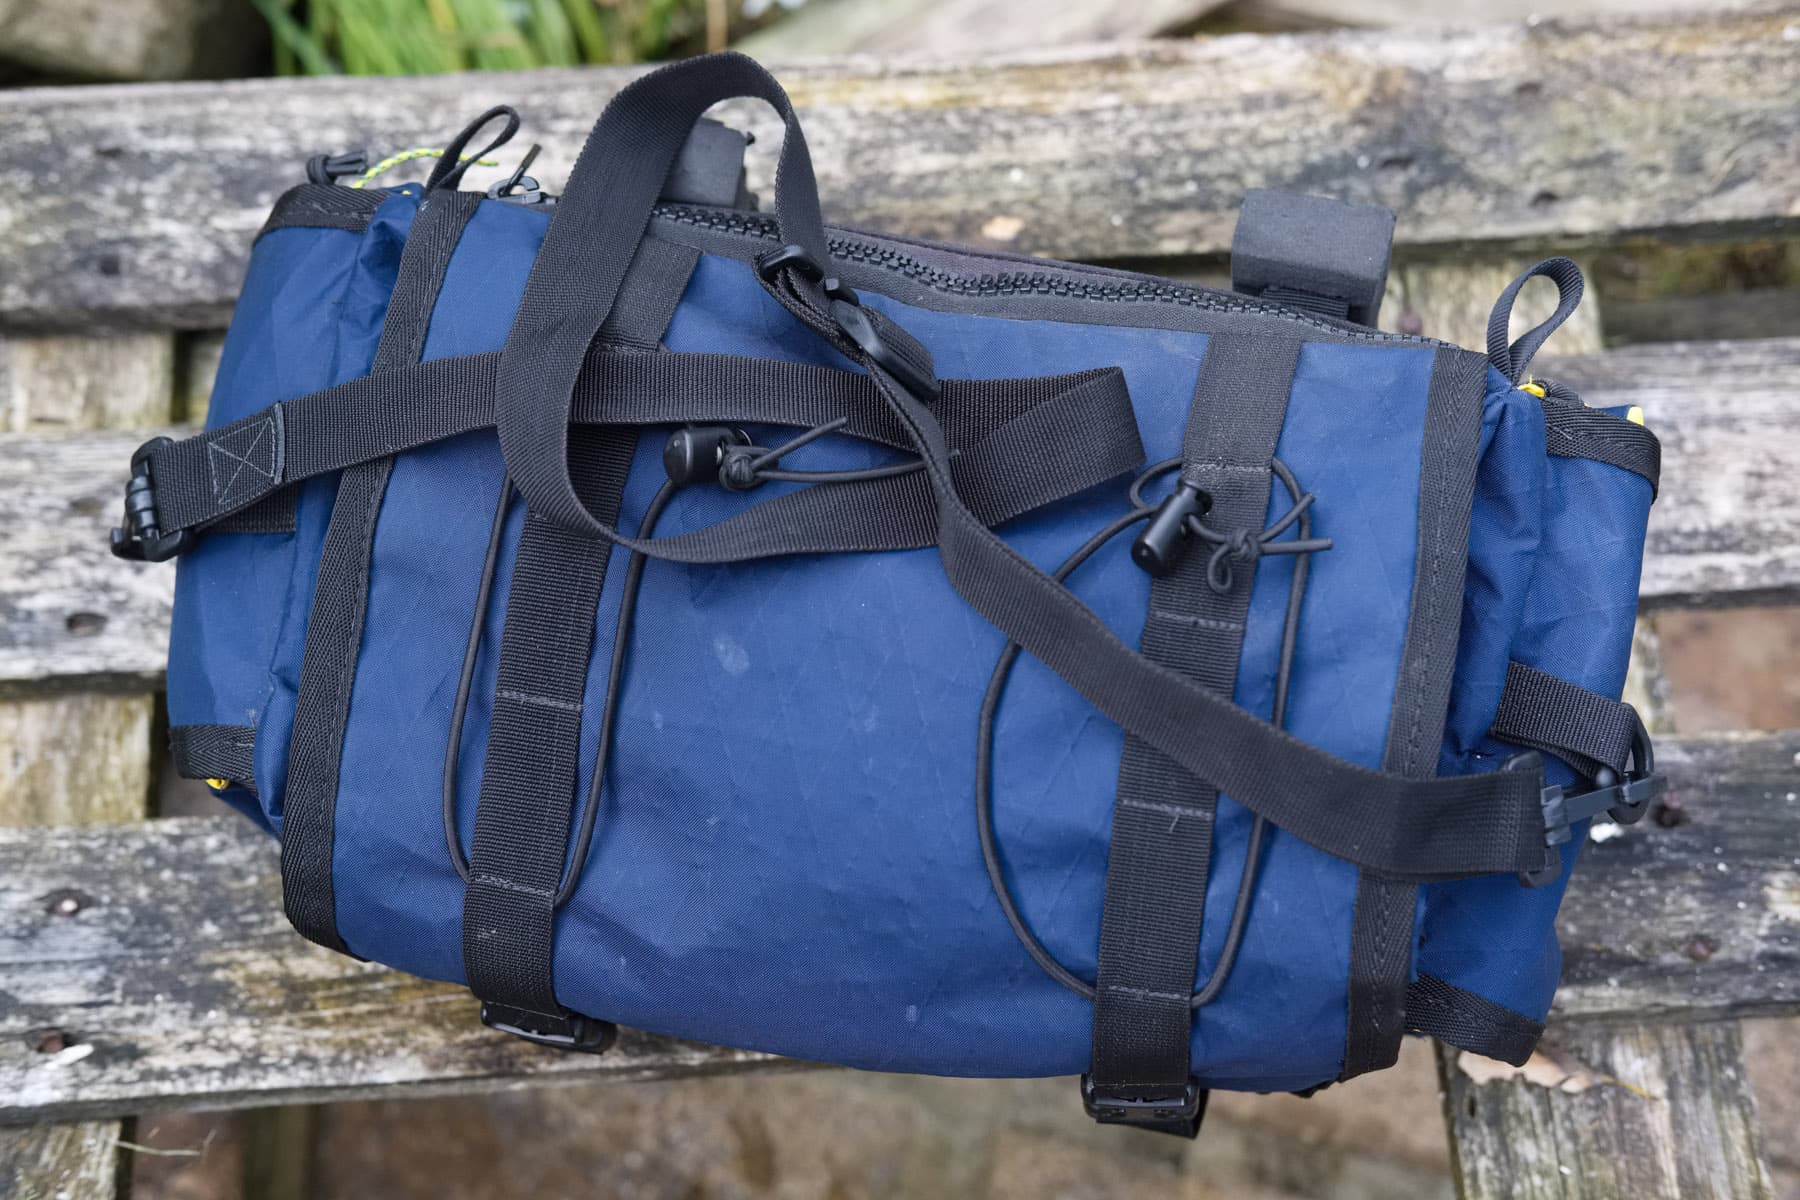
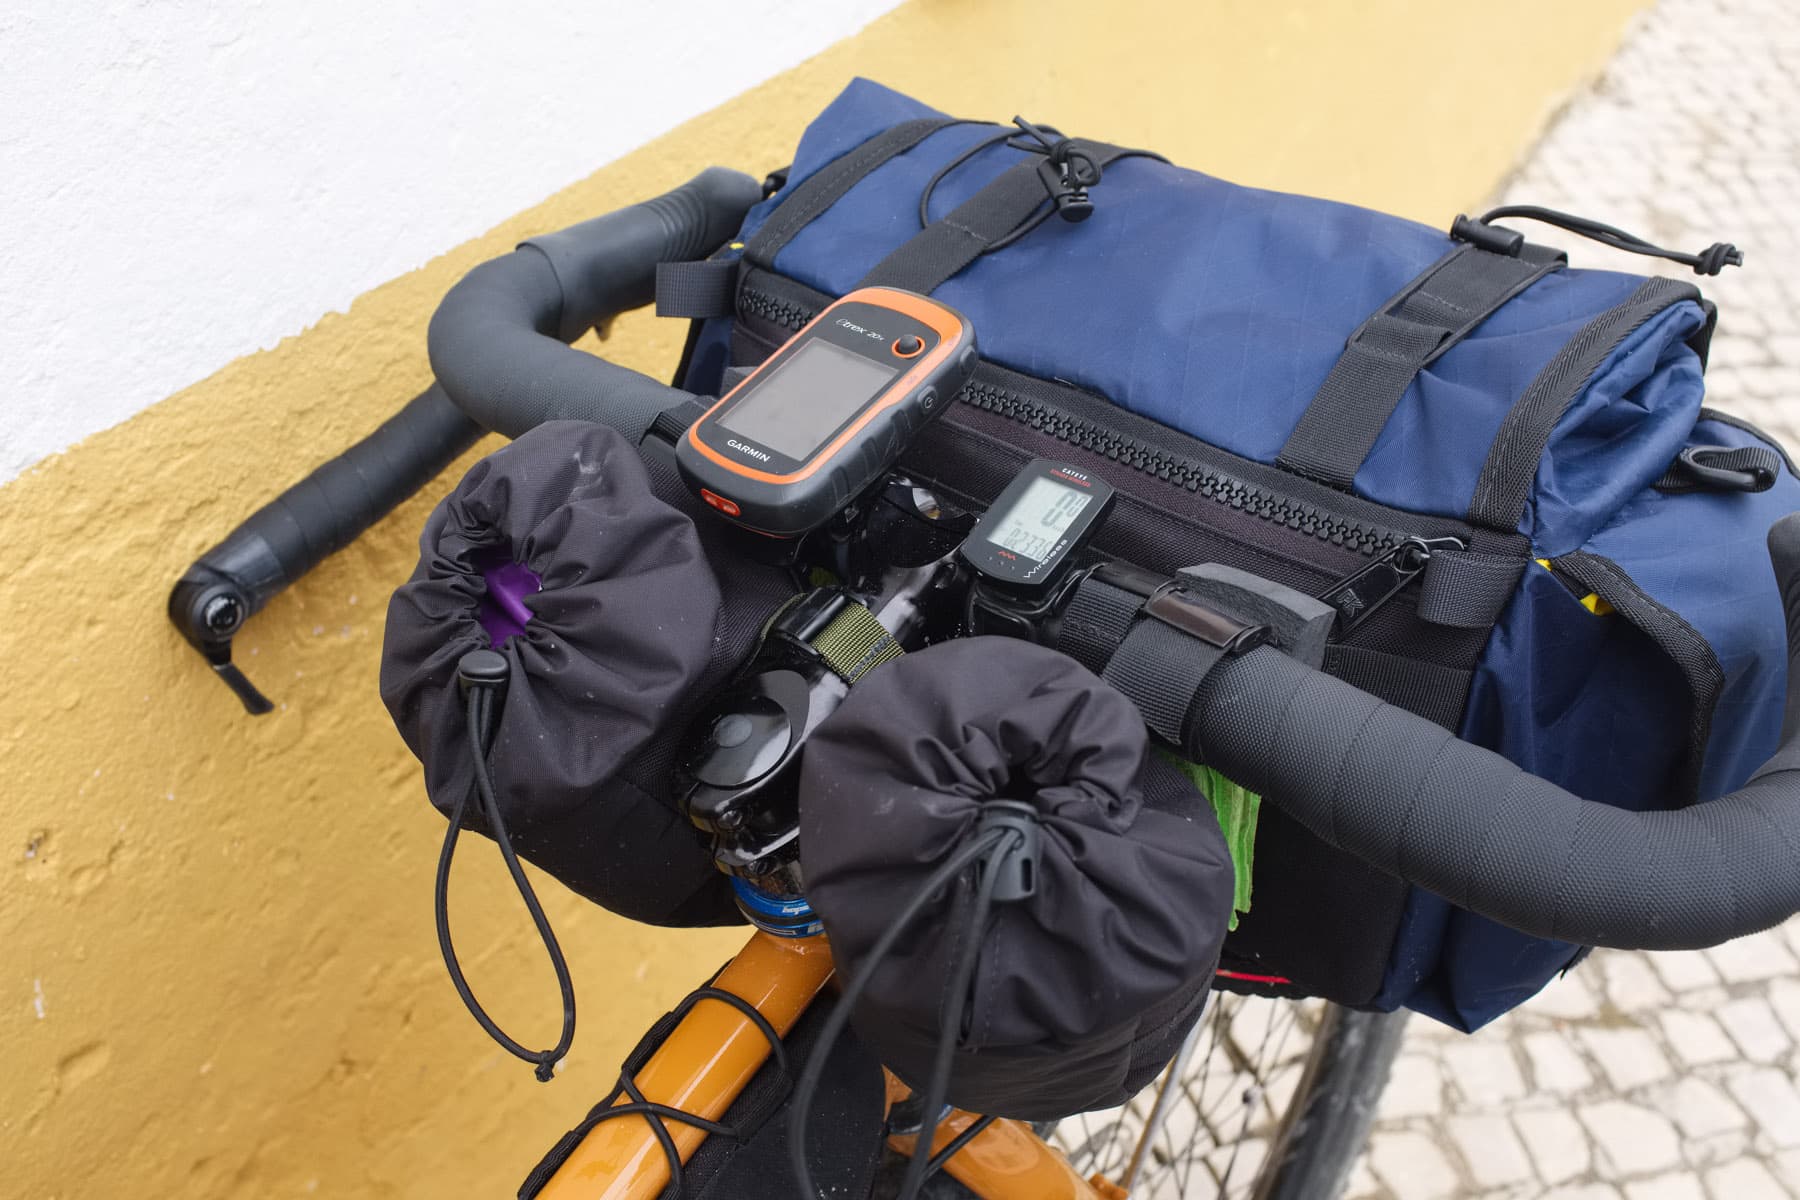
With a capacity of 18 litres in the main compartment, and 1.5 litres per expandable side pocket, it’s the perfect size to fit with the Ritchey Beacon XL bars on my Faran. I was keen to see the pattern too as there are always things to be learned from the way others construct a bag or solve problems; in this case it was well worth the $20 as it gave me some new ideas that I want to carry forward into another design, as well as allowing me to knock out a bag really quickly. I confess was tempted to modify the design straightaway but decided I’d benefit more by following it faithfully, and then taking away thoughts and experiences from that into the next one.
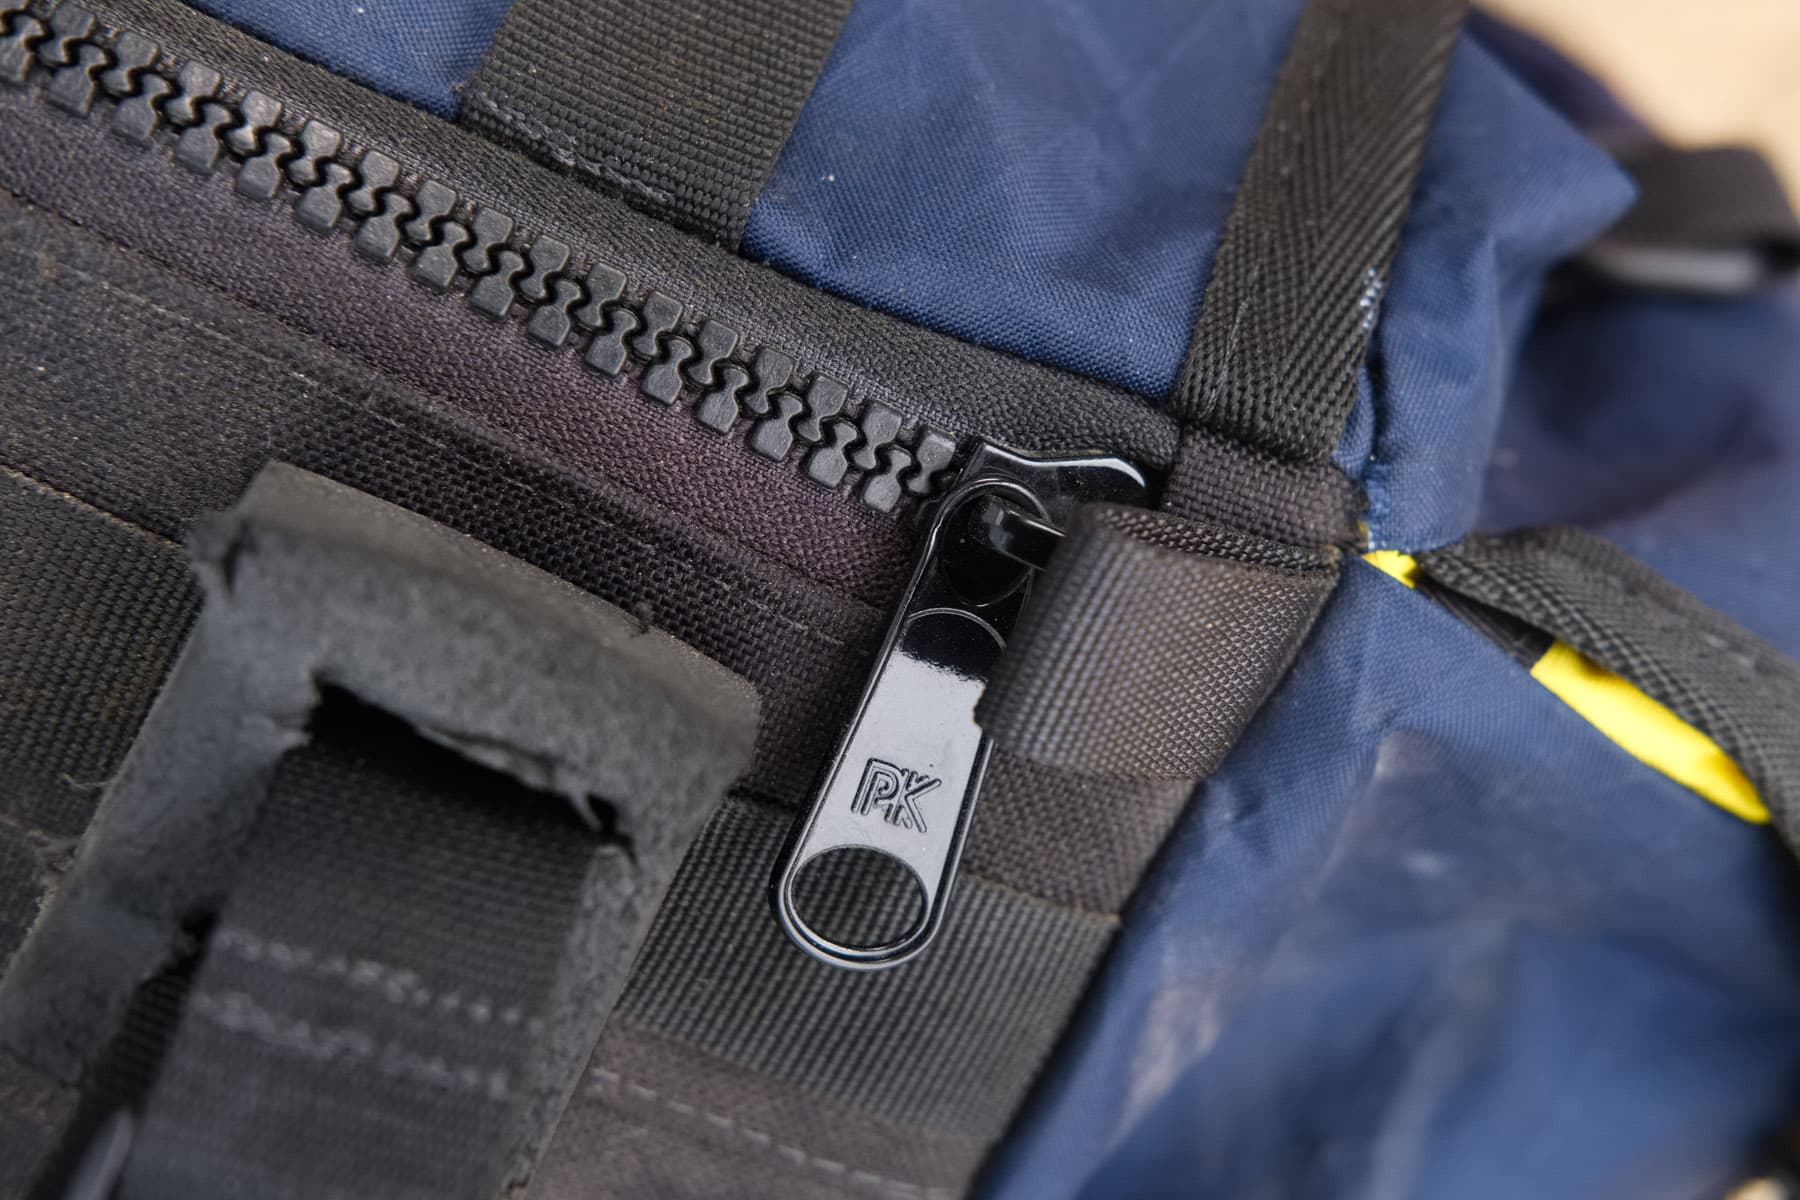
Having made it, and used it for a month, I will make another at some point – primarily it will be an inch or two deeper to better make use of the taller head tube on the Faran, and to accommodate my MacBook Air vertically. I would also probably ditch the rear “quick access” zip; I can see how it would be useful but in my case, travelling with a frame bag and a waist camera pack, I never used it. The layers of fabric do become rather thick around the zip ends which made assembling the body of the bag tricky. This one won’t be wasted when I make another, a mate wants it.
The pattern and accompanying booklet have a detailed list of everything you need to make the bag. I buy most of my fabrics, webbing, and fittings from Point North (https://www.profabrics.co.uk/). I’ve found them to be pretty much the best supplier in the UK in terms of range of outdoor fabrics for bags and similar, and while the range of what’s available is more limited than in the US they have pretty much everything you’ll need, and are fantastically helpful if you have questions. I’ve linked the fabrics in the caption above and below. Another handy source I’ve used in the past is Contact Left (https://www.contactleft.co.uk/) who have a range of fabrics and fittings very much aligned with the military and tactical flavoured market… lots of camo stuff if that’s your bag, so to speak.
The Junk Trunk pictured does require some additional materials in the form of 4-5mm thick EVA foam, a sheet of tough, rigid plastic of 4-5mm thick for the back, and a sheet of flexible polypropylene of around 1mm thick to give shape to the body. Plastics suppliers on eBay are a good source, but not necessarily the cheapest. For this bag the rigid rear back piece was cut from a cheap tray found at Pound Land for, errm, £1, and the larger flexible sheet came from a modelling store for a significantly lower price than that quoted for similar on eBay: https://modelshop.co.uk/Shop/Item/Polypropylene-frosted-sheet-1-1-400-600mm/ITM8843 . I sourced the EVA foam from the same place: https://modelshop.co.uk/Shop/Item/EVA-CF65-craft-foam-5-0-500-500mm/ITM8024.


The Functional Sewing Project is here: https://www.thefunctionalsewingproject.com/